
Introduction to Artisan Bread
Why Homemade Artisan Bread is a Game-Changer for Young Professionals
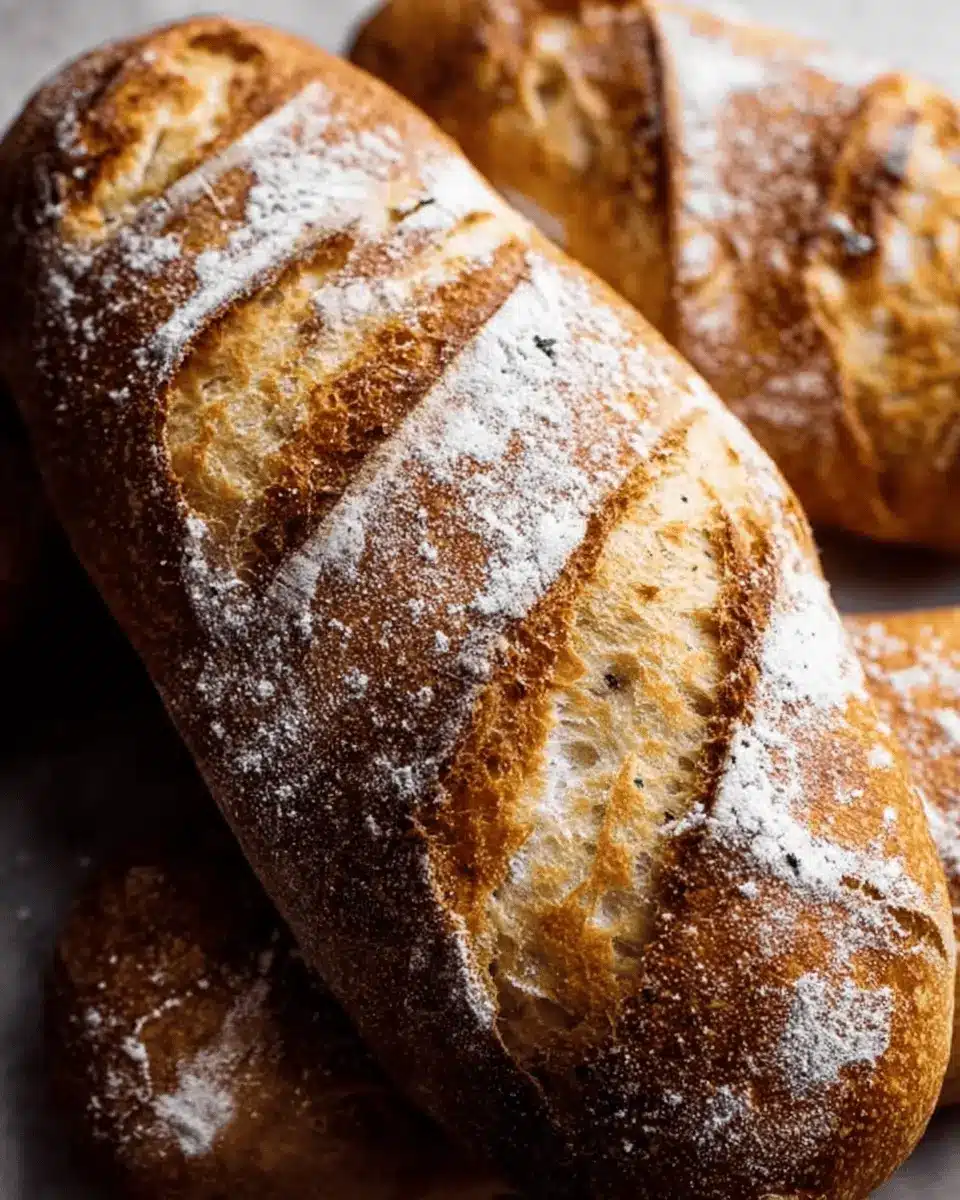
If you’re a young professional juggling work, social life, and the occasional home-cooked meal, discovering how to make homemade artisan bread can truly transform your culinary game. Imagine walking through your front door to the warm aroma of freshly baked bread wafting through your kitchen. Not only does homemade bread elevate your meals, but it also offers a sense of accomplishment and creativity—perfect for unwinding after a long day.
Many people think baking bread is a daunting task reserved for seasoned bakers, but with this artisan bread recipe, even those new to yeast can find success. With just a few simple ingredients and a little patience, you can create delicious loaves that are perfect for sandwiches, charcuterie boards, or simply slathering with butter.
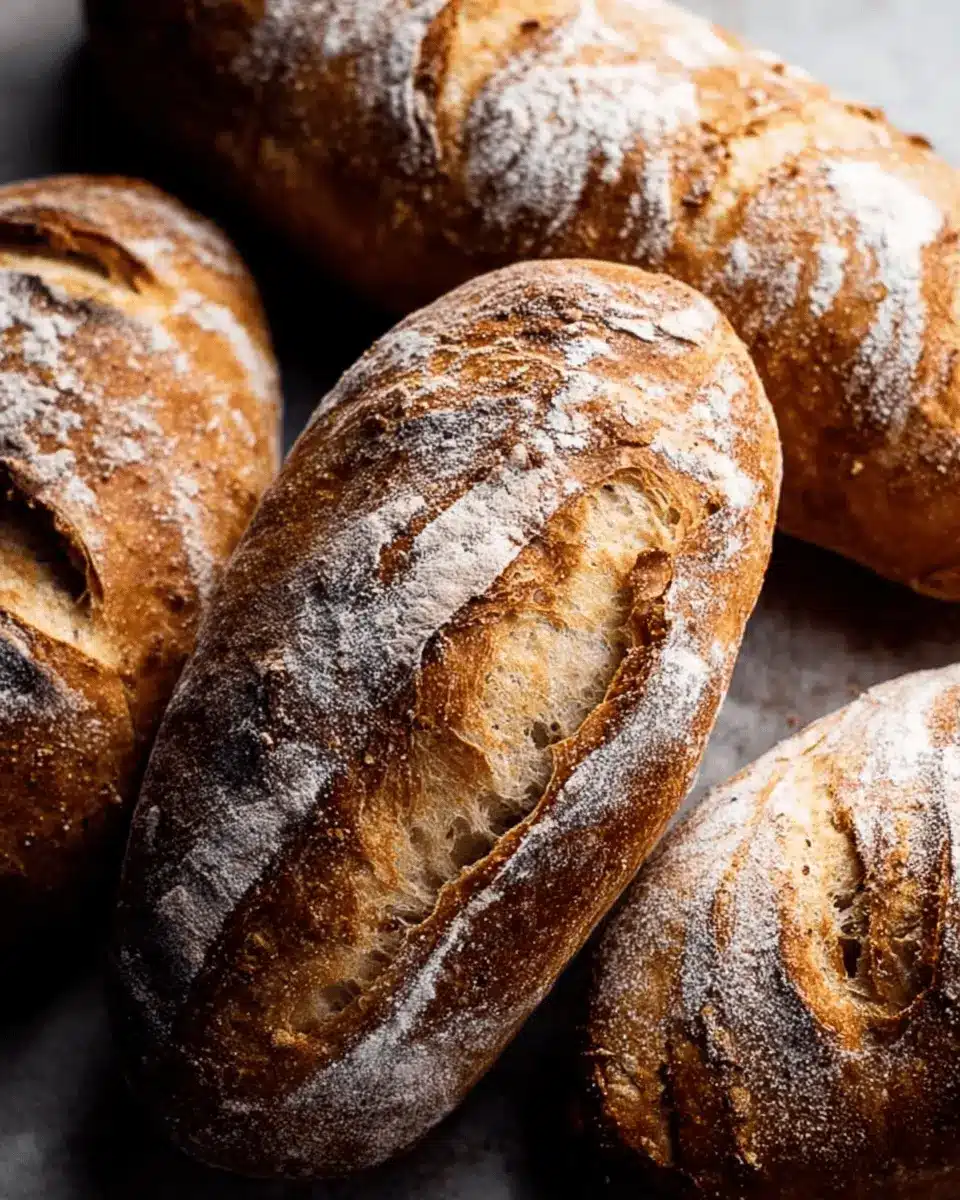
Making your own bread is also budget-friendly! Instead of spending a chunk of your hard-earned paycheck on gourmet loaves, you can whip up two beautiful 8-inch loaves in about 4 hours (including resting time). Plus, imagine how impressed your friends will be when you share your homemade creations at your next gathering!
So, grab your apron and let’s dive into the world of artisan bread!
Ingredients for Artisan Bread
Essential ingredients for the perfect loaf
Creating a delightful artisan bread recipe starts with a few essential ingredients that work wonders together. Here’s what you’ll need:
- Bread flour: 3 and ¼ cups (430g) of high-protein bread flour provides the strength necessary for a chewy and airy crumb.
- Instant yeast: 2 teaspoons (6g) of instant yeast helps the dough rise beautifully, ensuring a lovely texture.
- Coarse salt: 2 teaspoons (9g) of coarse salt enhances the flavor—don't skip this!
- Water: 1 and ½ cups (360ml) of room-temperature water brings everything together, activating the yeast for that perfect rise.
- Optional: A sprinkle of cornmeal for dusting your pan adds a nice touch and prevents sticking.
Importance of using the right flour and yeast
The combination of flour and yeast significantly impacts the final product. Bread flour is preferred due to its higher gluten content, leading to a characteristic chewiness and robust crust. Opting for instant yeast lets the bread rise faster and more reliably, promoting a stress-free baking experience.
For more insights into ingredient selection, check out this guide on the best flours for bread baking. Using the right ingredients truly sets the stage for your baking success!
Preparing Artisan Bread
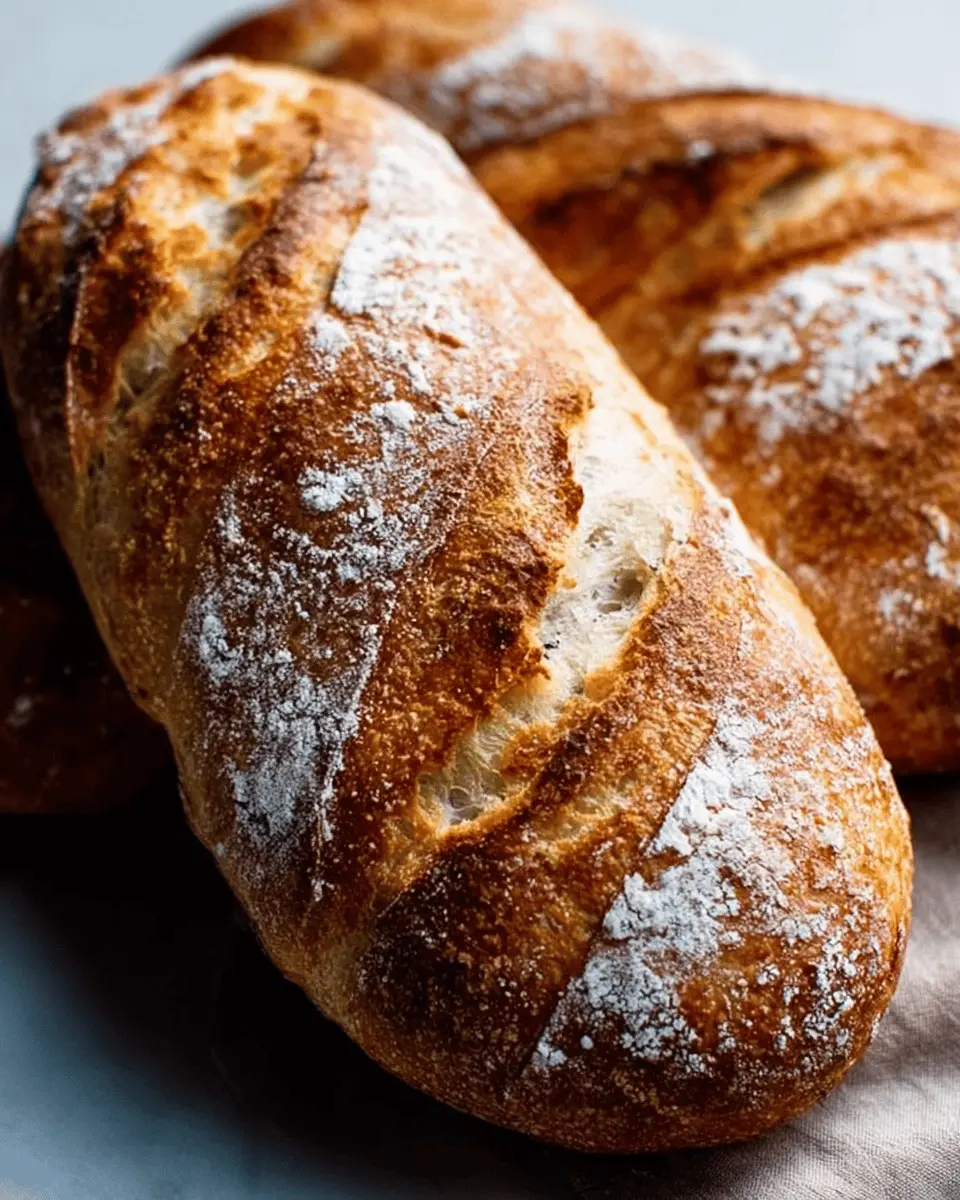
Baking artisan bread at home can feel like a culinary adventure, transforming basic ingredients into a warm, crusty loaf that's perfect for sandwiches, toast, or simply enjoying with butter. Let’s walk through the steps of making this delightful bread together.
Mixing the Dry Ingredients
Start by gathering your ingredients. In a large, ungreased mixing bowl, whisk together bread flour, instant yeast, and coarse salt. It’s essential to mix these dry ingredients well to ensure an even distribution of yeast, which is vital for a nice rise. If you’re new to baking with yeast, check out this helpful Baking with Yeast Guide from Sally. It offers insight into common yeast FAQs, helping you feel more confident in your baking journey.
Adding Water and Forming the Dough
Once the dry ingredients are mixed, it's time to add 1 and ½ cups of water, which should ideally be around room temperature (70°F or 21°C). Stir with a silicone spatula or wooden spoon until everything is combined; your dough may appear sticky and shaggy, but that’s perfectly normal. Feel free to use your hands to bring it all together—embrace the mess! Shape it into a rough ball in the bowl, and you’re ready for the magic of fermentation.
First Rise – Understanding Fermentation
Cover your dough tightly with plastic wrap or aluminum foil and allow it to rise at room temperature for 2-3 hours. This process is crucial for developing flavor and texture. You’ll notice your dough doubling in size, with lots of little air bubbles forming. To enhance the flavor even more, place the covered dough in the refrigerator for 12 hours up to 3 days. This slow fermentation is key to achieving the deep, complex flavors characteristic of great artisan bread.
Shaping and Second Rise
Next comes the shaping! Lightly dust a nonstick baking sheet with flour or cornmeal. Turn the cold dough out onto a floured surface and cut it into two equal halves. Shape each half into a long loaf of about 9×3 inches, keeping them about 3 inches apart. Loosely cover them with a towel and let them rest for another 45 minutes while you preheat your oven to 475°F (246°C). This second rise will help create an airy structure.
Scoring and Baking the Bread
Before baking, it’s important to score the loaves using a sharp knife or bread lame. Make three shallow slashes on each, allowing for controlled expansion during baking. For an extra crispy crust, consider placing a shallow pan of boiling water on the bottom rack of your oven after scoring. This steam provides that bakery-fresh texture we all love. Bake for 20-25 minutes or until golden brown. Tap the loaves—if they sound hollow, they’re ready!
Now that you’ve prepared your own artisan bread, slice it after letting it cool for at least 20 minutes. Enjoy the fruits of your hard work—your kitchen will be filled with warm, comforting aromas that make the effort worthwhile!
Variations on Artisan Bread
Herb-infused Artisan Bread Options
Elevate your artisan bread recipe with herbaceous flavors! Consider mixing in fresh or dried herbs like rosemary, thyme, or basil into your dough. Just add about 3 tablespoons of your favorite herbs when combining the dry ingredients. This simple twist can turn a basic bread loaf into something extraordinary, enhancing aroma and taste.
Adding Cheese and Other Ingredients for Flavor
Want to take your bread to the next level? Adding cheese is a fantastic idea! Incorporate about 1 cup of shredded cheese, such as cheddar or mozzarella, when mixing your ingredients. Feeling adventurous? Add chopped jalapeños, nuts, or even dried cranberries for a sweet and savory contrast. This personal touch can turn your homemade bread into a crowd-pleaser, perfect for sharing at dinner parties or cozy gatherings. For more flavor inspiration, check out my favorite baking resources for creative ideas!
Cooking Tips and Notes for Artisan Bread
Adjusting Baking Time and Temperature
Every oven is unique, so it’s essential to keep an eye on your artisan bread recipe. If your bread isn’t browning as expected, consider increasing the temperature by 25°F and checking on it a few minutes earlier than the recommended baking time. Don’t forget to test for doneness by tapping the bottom of the loaf; if it sounds hollow, it’s ready!
Tips for Achieving a Crispy Crust
For a beautifully crispy crust, steam is your best friend. Try placing a shallow pan of boiling water at the bottom of the oven before baking your loaves. Additionally, scoring the dough helps it expand while baking, creating that sought-after texture. A light dusting of flour or cornmeal on your baking surface can also contribute to a delightful crunch. For more expert techniques, visit King Arthur Baking.
Serving Suggestions for Artisan Bread
Best spreads and toppings to complement your bread
When it comes to enjoying your homemade artisan bread, variety is key! Here are some delectable spreads and toppings to elevate your experience:
- Herbed butter: Mix softened butter with fresh herbs like basil or chives for a fantastic, savory twist.
- Avocado: Smashed avocado sprinkled with salt and red pepper flakes makes for a hearty topping.
- Cream cheese: Spread on a slice and top with sliced cucumbers for a refreshing bite.
- Hummus: Pair with roasted red peppers or sliced olives for a burst of flavor.
Feel free to get creative with your combinations!
Creative uses for leftover artisan bread
Don’t let any leftover artisan bread go to waste! Here are a few tasty ideas to utilize those crumbs:
- Bread crumbs: Pulse stale bread into crumbs for breading meats or as a topping for casseroles.
- Bread pudding: Transform it into a comforting dessert by making an easy bread pudding.
- Croutons: Cube the leftover bread, toss with olive oil, and bake for delicious homemade croutons to top salads and soups.
These ideas add new life to your artisan bread, making every last bite enjoyable! For more baking inspiration, check out King Arthur Baking's recipe collection to explore even more creative ways to use your baking skills.
Time Breakdown for Artisan Bread
When making artisan bread, it's all about patience and timing. Here’s a quick breakdown to help you plan your baking journey effectively.
Preparation Time
Set aside around 4 hours for the entire process. This includes mixing your ingredients and shaping the dough.
Rising and Resting Time
Let your dough rise for about 2 to 3 hours at room temperature. For the best flavor, refrigerate it for 12 to 72 hours—the longer, the better!
Baking Time
Finally, bake your artisan bread for 20 to 25 minutes. You’ll know it’s ready when the crust is golden brown and sounds hollow when tapped.
By understanding this timeline, you can better manage your day while crafting delicious homemade bread. If you're curious about tip and tricks for perfecting bread-making, check out resources from King Arthur Baking or my detailed guide on Baking with Yeast for all the essential insights!
Nutritional Facts for Artisan Bread
Estimated Calories Per Slice
When it comes to homemade artisan bread, a single slice typically contains around 80-100 calories, depending on the thickness and ingredients used. This makes it a versatile choice for various meals, whether you’re adding it to breakfast or enjoying it as a sandwich.
Nutritional Benefits of Homemade Bread
Making your own artisan bread is not just about the delicious taste; it also comes with several nutritional perks:
- No Preservatives: Homemade bread is free from artificial additives often found in store-bought varieties.
- Nutrient Control: You have complete control over the ingredients, enhancing the nutritional profile with whole grains or added seeds.
- High Fiber Content: Depending on the flour, your bread can be a good source of fiber, supporting digestive health.
Not to mention, the satisfaction of creating something from scratch is hard to beat! Plus, if you're curious about the extensive health benefits of whole grains, check out this piece from the Whole Grains Council.
In summary, embracing this artisan bread recipe not only fills your stomach but also supports your well-being with wholesome ingredients. Dive in and enjoy the process of making bread that truly nourishes!
FAQ about Artisan Bread
What can I do if my dough doesn’t rise?
If your dough doesn’t rise, don’t panic! Here are a few troubleshooting tips:
- Check Yeast Freshness: Ensure your yeast is fresh and active. Ten active yeast is essential for a good rise.
- Temperature Matters: Make sure the water is about 70°F (21°C) – too hot can kill the yeast, while too cold can slow it down.
- Humidity and Time: Sometimes, dough just needs more time. If your kitchen is cold, try placing the dough in a warmer spot or covering it with a damp cloth.
How do I store artisan bread properly?
To keep your artisanal loaves fresh, you should:
- Store them in a paper bag at room temperature for up to 5 days. This helps maintain the crust.
- For longer shelf life, consider wrapping it in plastic wrap or keeping it in an airtight bag, which will soften the crust slightly but keep the bread moist.
Can I freeze artisan bread, and if so, how?
Absolutely! Freezing your artisan bread is a great way to keep it fresh. Here’s how:
- Cool Completely: Make sure the bread is fully cooled before freezing.
- Wrap Carefully: Wrap each loaf tightly in plastic wrap, followed by aluminum foil to prevent freezer burn.
- Thawing: When you’re ready to enjoy, simply leave it out at room temperature or warm it in the oven for refreshed crustiness.
For more tips on bread storage, check out resources like King Arthur Baking.
Conclusion on Artisan Bread
Embracing the Joy of Homemade Bread-Making
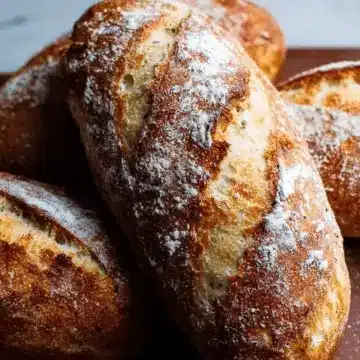
Making artisan bread at home is a delightful experience that can transform your kitchen into a warm, inviting space. With this artisan bread recipe, you not only create a delicious loaf that rivals bakery offerings but also cultivate a personal connection to your food. Enjoy the process and savor each homemade slice!
Artisan Bread Recipe
Equipment
- Mixing bowl
- Silicone spatula
- baking sheet
- sharp knife or bread lame
- instant-read thermometer
Ingredients
Dry Ingredients
- 3 ¼ cups bread flour spooned & leveled
- 2 teaspoons instant yeast
- 2 teaspoons coarse salt see note
Wet Ingredients
- 1 ½ cups water close to room temperature at about 70°F (21°C)
Optional
- cornmeal for dusting pan
Instructions
Preparation
- In a large ungreased mixing bowl, whisk the flour, yeast, and salt together. Pour in the water and gently mix together with a silicone spatula or wooden spoon.
- Cover the dough tightly with plastic wrap or aluminum foil and set on the counter at room temperature for 2-3 hours to rise.
- For best flavor and texture, let the risen dough rest in the refrigerator for at least 12 hours and up to 3 days.
- Lightly dust a large nonstick baking sheet with flour and/or cornmeal. Turn the cold dough out onto a floured work surface and cut in half.
- Shape into 2 long loaves about 9×3 inches each, about 3 inches apart. Loosely cover and allow to rest for 45 minutes.
- Preheat the oven to 475°F (246°C) during the resting period.
- Score the bread loaves with 3 slashes about ½ inch deep before baking.
- Optionally, place a pan of boiling water in the oven to create steam for a crispier crust.
- Bake the shaped and scored dough in the preheated oven for 20-25 minutes until the crust is golden brown.
- Remove from oven and cool for at least 20 minutes before slicing and serving.


Leave a Reply