
Introduction to Homemade Strawberry Ice Cream
When the temperature rises, there's nothing quite like a scoop of homemade strawberry ice cream to cool you down. Why settle for store-bought when making your own can elevate your dessert game? With homemade ice cream, you control every ingredient, ensuring fresh flavors and minimal additives. Plus, it's incredibly rewarding to transform simple ingredients into a delicious treat. As you whip up your homemade strawberry ice cream, you’ll discover the joys of combining fresh fruit with creamy sweetness—it's a flavor that simply can't be matched.
Making ice cream at home allows for creative freedom. You can adjust sweetness levels, choose your base, and even experiment with mix-ins like chocolate chips or nuts. With just a few key ingredients, you’re on your way to an unforgettable dessert. According to experts, fresh fruits like strawberries not only enhance the taste but also offer health benefits—rich in vitamin C and antioxidants. So, why wouldn't you dive into this delightful experience?
In this guide, you’ll find a straightforward recipe that’s perfect for beginners, ensuring a sweet escape anytime you crave something cool and creamy. Ready to get started? Let’s dive into the recipe!
Ingredients for Homemade Strawberry Ice Cream
Fresh ingredients for the best flavor
When it comes to crafting the perfect homemade strawberry ice cream, the quality of your ingredients makes all the difference. Here’s what you’ll need to create a delightful dessert that bursts with flavor.
- Strawberries: Choose fresh, ripe strawberries for the best taste. If you can visit a local farmers' market, the flavor can’t be beaten!
- Honey and granulated sugar: A blend of these sweeteners enhances the natural sweetness of the strawberries without overpowering them. Consider using organic options for a purer taste.
- Lemon juice: Just a touch of this citrus helps to brighten the flavors of the strawberries and balance out the sweetness.
- Heavy whipping cream and half and half: These rich dairy components give your ice cream its creamy texture. Full-fat dairy is the way to go!
- Vanilla extract: A splash of pure vanilla adds warmth and depth, rounding out the fruity notes beautifully.
Using fresh and high-quality ingredients not only elevates the flavor but also makes the ice cream-making process enjoyable. For more insights on ingredient selection, check out this article on the importance of fresh produce.
Step-by-step Preparation of Homemade Strawberry Ice Cream
Making your own homemade strawberry ice cream can be a delightful experience, not just a project in the kitchen. This treat is perfect for both summer gatherings and quiet evenings at home. Let’s walk through the steps together to create a batch that you will savor.
Prepare the strawberries
Start with some vibrant, fresh strawberries. You'll want about 1 ½ cups, hull them, and cut them into small pieces. To enhance their natural sweetness, sprinkle them with 2 tablespoons of honey and ½ cup of granulated sugar. Add in a teaspoon of lemon juice for that bright, zesty kick. Allow the mixture to sit for about 15-20 minutes. This waiting period is crucial as it helps the strawberries release their juices, creating a lovely syrup that will flavor your ice cream wonderfully.
Combine ingredients
Once your strawberries have marinated, it’s time to combine all the ingredients for your homemade strawberry ice cream. In the same bowl, add in 1 cup of heavy whipping cream and ½ cup of half-and-half. Finally, don’t forget to include 1 teaspoon of vanilla extract. Stir everything gently just until it’s combined. This rich, creamy base will make your ice cream irresistibly smooth.
Mash or blend the strawberry mixture
Now comes the fun part! You can either mash the strawberry mixture with a potato masher or a fork if you enjoy some texture in your ice cream. If you prefer a smoother blend, you can also use a blender or food processor. Just keep in mind that if you decide to puree, consider reducing the strawberry amount to about ⅔ to 1 cup. A more liquid consistency can make it a little trickier to achieve that creamy texture you desire.
Churn the ice cream
Your ice cream base is now ready! Pour it into your ice cream maker and churn according to the manufacturer’s instructions—this usually takes about 15-20 minutes. When it's done, you can enjoy it as a soft-serve treat right away or transition to the next step for a firmer texture.
Freeze for the perfect texture
If you opt for a firmer ice cream, transfer your churned mixture into an airtight container and place it in the freezer. Let it freeze for about 3-4 hours to allow it to thicken up nicely. Before serving, let it sit at room temperature for about 5-10 minutes. This little tip makes scooping easier and guarantees perfect servings of your homemade strawberry ice cream.
Enjoying your creation is perhaps the best part—share it with loved ones or keep it all for yourself! If you're interested in more ice cream hacks, check out this guide on Serious Eats. Happy churning!
Variations of Homemade Strawberry Ice Cream
Strawberry Banana Ice Cream
For a delightful twist, add ripe bananas to your homemade strawberry ice cream! Simply blend a banana with your strawberries before combining with the cream mixture. This variation not only enhances the sweetness but also gives your ice cream a creamy texture. Plus, bananas pair beautifully with strawberries for a flavor that screams summer. Did you know that bananas are a great source of potassium? They can complement the refreshing strawberries quite well!
Strawberry Yogurt Swirl
If you're looking for a tangy alternative, try incorporating Greek yogurt into your homemade strawberry ice cream. Simply swirl in a generous cup of yogurt after churning your base, creating a lovely marbled effect. This variation adds a refreshing tartness that balances the sweetness of the strawberries. It’s also a great way to sneak in some protein! For more variations on yogurt-based desserts, check out this resource.
Experimenting with these variations can take your homemade strawberry ice cream to new heights!
Cooking Tips and Notes for Homemade Strawberry Ice Cream
Achieving the Perfect Creaminess
For luxuriously creamy homemade strawberry ice cream, start with cold heavy cream and half-and-half, as this helps in achieving that melt-in-your-mouth texture. Don’t skip the step of letting the strawberry mixture sit—it’s key for flavor and smoothness! If you're looking for an ultra-smooth consistency, consider pureeing fewer strawberries and opting for a blend that still retains some chunky bits.
Storage Tips for Homemade Ice Cream
To keep your delicious ice cream fresh, store it in an airtight container in the back of the freezer where it stays the coldest. If you plan to enjoy it later, place a layer of plastic wrap directly on the surface before sealing the container. This minimizes ice crystals, keeping your homemade strawberry ice cream delightful even a week later! When ready to serve, allow it to sit out for 5-10 minutes for easy scooping.
For more ice cream tricks and tips, check out America’s Test Kitchen or Serious Eats for expert insights!
Serving Suggestions for Homemade Strawberry Ice Cream
Ideas to elevate your ice cream experience
Enjoying a scoop of homemade strawberry ice cream is delightful on its own, but why not make it even more special? Here are some fun serving suggestions to elevate your ice cream experience:
- Garnish with Fresh Berries: Add a handful of ripe strawberries or mixed berries on top for a burst of freshness.
- Drizzle Some Chocolate: A simple drizzle of chocolate syrup over your ice cream can create a heavenly contrast to the fruity flavor.
- Pair with Crushed Cookies: Crushed graham crackers or your favorite cookies make a tasty and crunchy topping.
- Create a Sundae: Stack your ice cream with whipped cream, nuts, and a cherry for a classic sundae experience.
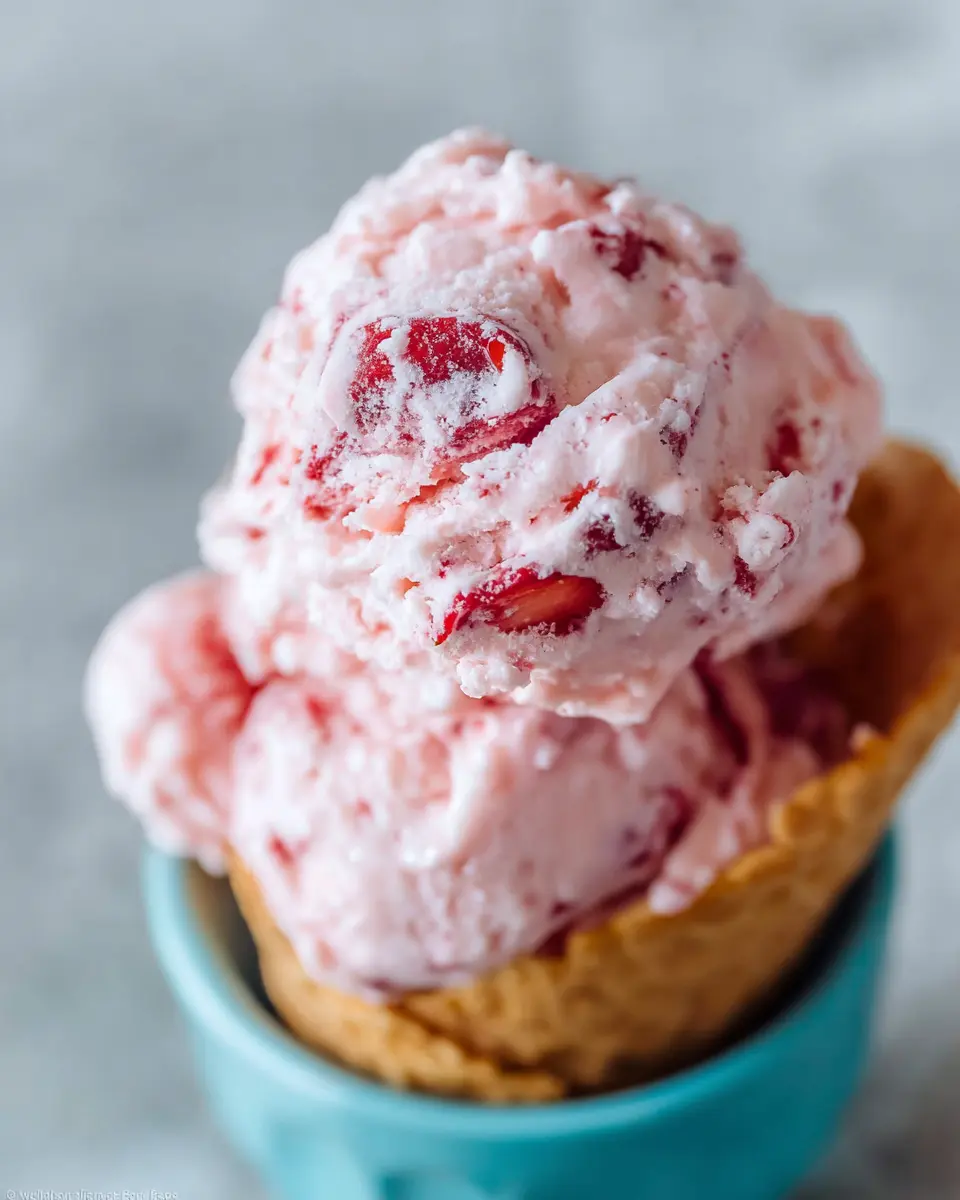
- Serve in a Cone: Scoop your homemade strawberry ice cream into a waffle cone for an enjoyable handheld treat!
Explore more creative ideas and enhance your dessert game!
Time Breakdown for Homemade Strawberry Ice Cream
Preparation Time
This delightful homemade strawberry ice cream takes about 40 minutes to prepare. This includes the time needed to mix your fresh strawberries with sweeteners and cream. Don’t worry; most of this is hands-off!
Chilling Time
Once you’ve combined your ingredients, the ice cream will need around 3 hours to chill in an airtight container, allowing it to thicken to that perfect creamy texture we all crave.
Total Time
In total, you’re looking at about 3 hours and 40 minutes from start to finish. Trust me, the wait is well worth it for a scoop of this refreshing treat!
If you want to dig deeper into why homemade ice cream is a great summer activity, check out this fun guide on making ice cream with kids!
Ready to indulge? Let’s create that irresistible homemade strawberry ice cream!
Nutritional Facts of Homemade Strawberry Ice Cream
Calories per serving
Each serving of this homemade strawberry ice cream packs approximately 190 calories. This delightful treat is perfect for enjoying on warm days without feeling guilty about indulging!
Sugar content
This recipe contains about 22 grams of sugar per serving. While a bit on the sweeter side, the use of fresh strawberries and honey helps balance the flavors beautifully.
Fat content
With around 10 grams of fat per serving, primarily from the heavy cream, this ice cream is rich and creamy. Enjoy it in moderation as part of a balanced diet!
For more insights on the benefits of strawberries, check out this article on the Nutritional Benefits of Strawberries. Homemade treats like this keep you in control of the ingredients, making them a healthier choice!
FAQs about Homemade Strawberry Ice Cream
Can I use frozen strawberries?
Absolutely! Frozen strawberries can be a great alternative if fresh ones aren't available. Just make sure to thaw and drain them before use to avoid excess liquid in your homemade strawberry ice cream. You might want to use a bit less sugar, as frozen berries can be sweeter.
How long can I store homemade ice cream?
Your homemade strawberry ice cream will typically stay fresh in the freezer for about 2–3 weeks. To keep it at its best, transfer the ice cream to an airtight container, covering the surface with plastic wrap to minimize air exposure. This will help prevent ice crystals from forming.
What if I don’t have an ice cream maker?
No worries! You can still enjoy creamy homemade strawberry ice cream. Just mix your ingredients and pour them into a freezer-safe container. Stir the mixture every 30 minutes for about 3 hours, until the ice cream reaches the desired consistency. It may not be as creamy as churned versions, but it will still taste delicious! For more tips, check out this handy guide.
Conclusion on Homemade Strawberry Ice Cream
In conclusion, making your own homemade strawberry ice cream brings joy and freshness to any dessert table. With just a few simple ingredients, you can create a creamy treat that captures the essence of summer. Remember, the key is to use ripe strawberries for maximum flavor. Enjoy every scoop!
For more delicious dessert ideas, check out The Kitchn's guide to summer desserts.
Homemade Strawberry Ice Cream
Equipment
- Ice Cream Maker
Ingredients
- 1 ½ cups strawberries, hulled and diced
- 2 tablespoon honey
- ½ cup granulated sugar
- 1 teaspoon lemon juice
- 1 cup heavy whipping cream
- ½ cup half and half
- 1 teaspoon vanilla extract
Instructions
- In a large bowl, mix strawberries, honey, sugar, and lemon juice. Allow to sit 15-20 minutes, or until the strawberries have released their juices.
- Mash the mixture with a potato masher, fork, or pastry cutter until there are no longer any large strawberry pieces.
- To the strawberries, mix heavy cream, half and half, and vanilla extract. Stir just until combined.
- Pour the mixture into your ice cream maker, and follow your manufacturer's instructions (mine took about 15-20 minutes to churn). You can eat the ice cream soft-serve, or freeze it in an airtight container for 3-4 hours to thicken it up slightly.
- For best results, allow the ice cream to sit at room temperature for about 5-10 minutes to soften before serving.
- Enjoy!


Leave a Reply