
Introduction to Easter Egg Cheesecake Jars
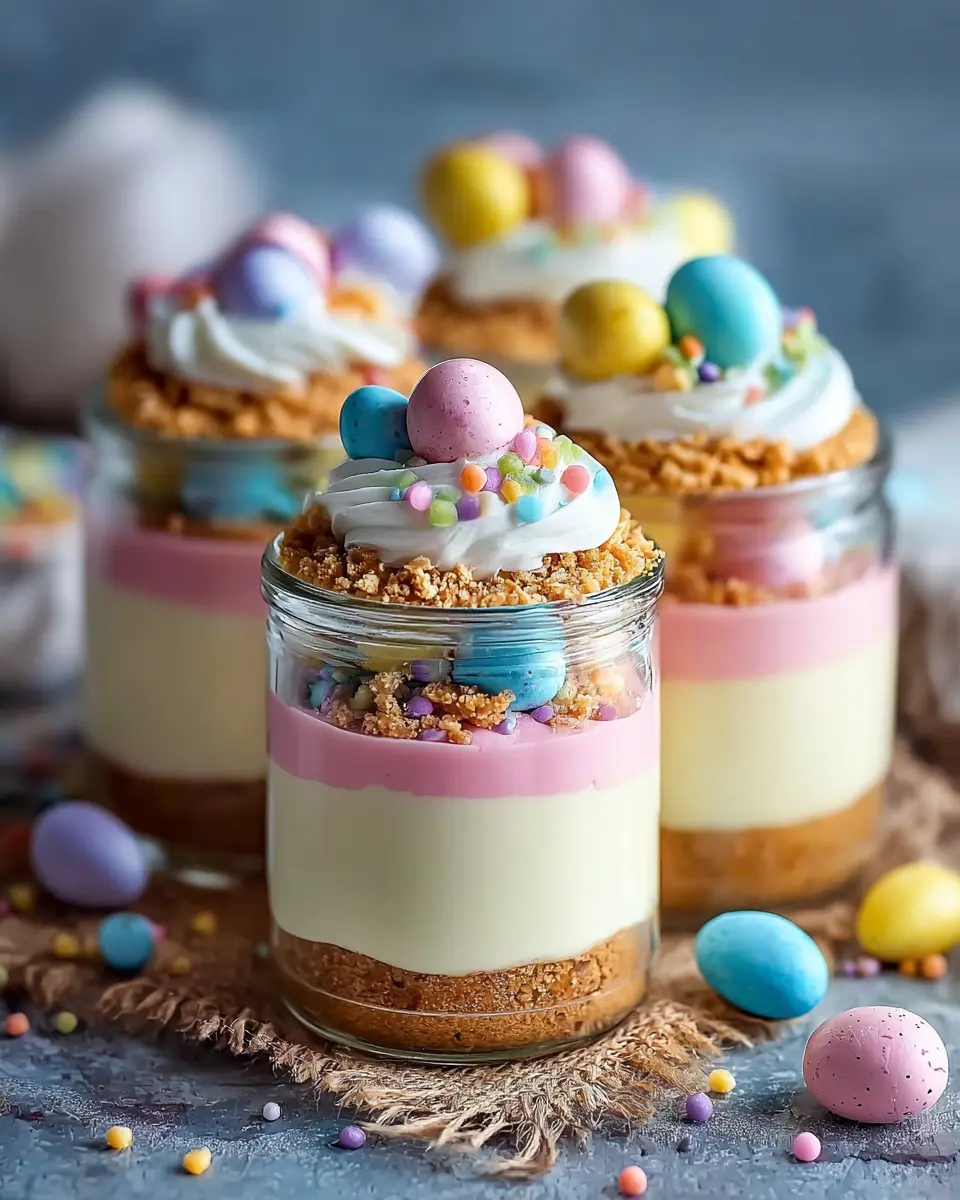
Spring is here, and nothing says “celebration” quite like Easter Egg Cheesecake Jars! These delightful treats combine the creamy richness of cheesecake with the playful charm of pastel candy eggs, making them perfect for festive gatherings or a cozy night in. Imagine sitting with friends and family, sharing these colorful jars, each layered with luscious flavors and adorned with whimsical decorations.
So, what makes Easter Egg Cheesecake Jars a delightful treat? Well, first off, they’re incredibly customizable. You can opt for classic flavors or get creative with fruit-infused layers, using ingredients like strawberry powder or gel coloring for that extra pop of color. The combination of a buttery graham cracker crust, smooth cream cheese filling, and a swirl of whipped cream makes every bite a heavenly experience. In addition to their eye-catching presentation, they are simple to make and can be prepared in advance, allowing you to focus on enjoying the moment rather than being stuck in the kitchen.
If you're looking to impress your guests or add a sweet touch to your Easter celebrations, these jars are a win-win. Check out our full recipe and get ready to whip up a batch that will surely delight everyone around the table!
Ingredients for Easter Egg Cheesecake Jars
Creating delightful Easter Egg Cheesecake Jars is as simple as gathering a few key ingredients. Here’s what you’ll need to whip up these scrumptious treats that are sure to impress your friends and family:
-
Graham Cracker Crust:
-
1 cup graham cracker crumbs
-
2 tablespoons granulated sugar
-
4 tablespoons unsalted butter, melted
-
Creamy Cheesecake Filling:
-
8 oz cream cheese, softened
-
½ cup powdered sugar
-
1 teaspoon vanilla extract
-
1 cup heavy cream, whipped to stiff peaks
-
Color and Decor:
-
Pink gel food coloring or 1 tablespoon freeze-dried strawberry powder (optional)
-
Whipped cream for topping
-
12–18 pastel candy eggs (2–3 per jar)
-
Rainbow or pastel sprinkles (to taste)
Gather your ingredients, don't forget to pick up some colorful candy eggs—the real star of this dessert! For more inspiration, check out Spruce Eats for additional tips on desserts that will bring joy to any celebration!
Preparing Easter Egg Cheesecake Jars
Creating delightful Easter Egg Cheesecake Jars is an engaging and innovative way to celebrate the holiday. These charming desserts are not only delicious but also visually appealing, making them perfect for gatherings or simply to enjoy at home. Let’s go through each step together to create a delightful treat that will impress everyone!
Prepare the crust
To start, grab your mixing bowl and combine 1 cup of graham cracker crumbs, 2 tablespoons of granulated sugar, and 4 tablespoons of melted unsalted butter. It’s essential to mix these ingredients until they resemble wet sand—this is the key to a perfect crust! Gently spoon the mixture into mini jars, pressing it firmly to create an even base. This step might seem simple, but trust me, a well-prepared crust sets the foundation for your Easter Egg Cheesecake Jars!
Make the cheesecake filling
Next, let’s shift our focus to the creamy cheesecake filling. In another mixing bowl, beat an 8 oz block of softened cream cheese until it’s smooth and velvety. Adding ½ cup of powdered sugar and 1 teaspoon of vanilla extract transforms this mixture into something luxurious. Continue beating it until fluffy and delightful. Now, for the magic touch: fold in 1 cup of heavy cream that has been whipped to stiff peaks. This step will give your cheesecake filling that light, airy texture we all crave.
Create the colorful layers
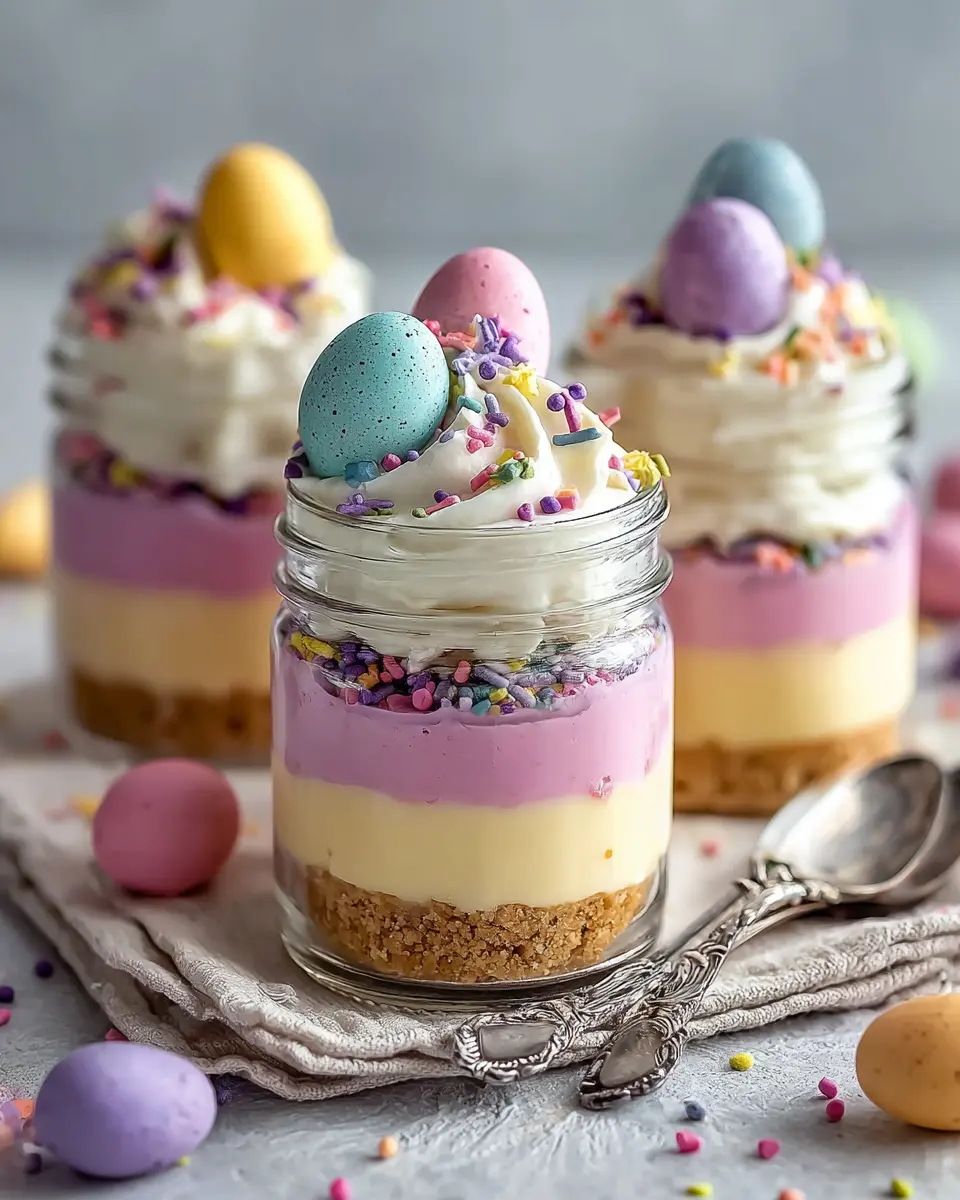
To really elevate your Easter Egg Cheesecake Jars, let’s add a splash of color! Divide the cheesecake mixture into two bowls. In one bowl, you can choose to add pink gel food coloring or even a tablespoon of freeze-dried strawberry powder for a fruity twist. This will create a beautiful pink layer in your jars. Carefully spoon or pipe the pink layer over the prepared crust before topping it with the classic cheesecake mixture.
Assemble the jars
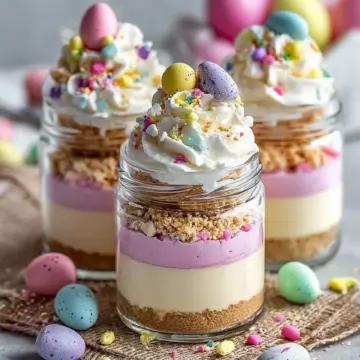
Now that our layers are beautifully created, it’s time to assemble the jars. Start by alternating the pink and white cheesecake layers, allowing for a delightful visual contrast. Feel free to get creative with your layering technique—whether it's a neat line or a whimsical swirl, it’s all about making it your own! To finish off, add a generous swirl of whipped cream on top of each jar for that airy, creamy touch.
Add the finishing touches
Finally, let’s decorate! Top your Easter Egg Cheesecake Jars with 12-18 pastel candy eggs—two to three per jar is ideal. Sprinkle some rainbow or pastel sprinkles for an added festive flair. Once decorated, chill your jars in the refrigerator until you’re ready to serve. This not only enhances the flavors but also makes them look irresistibly inviting!
There you have it: your scrumptious Easter Egg Cheesecake Jars are ready to wow your friends and family. These delightful treats are sure to be the star of your Easter celebration!

Variations on Easter Egg Cheesecake Jars
Fruity Easter Egg Cheesecake Jars
If you love a burst of flavor, consider making fruity Easter Egg Cheesecake Jars. Swap out traditional layers for fruit-flavored elements. Use fresh fruit purees, such as raspberry or blueberry, to create a dazzling fruity layer. You can even mix freeze-dried fruit powder into the cheesecake mixture for an extra flavor boost! Topped with fresh berries and colorful candy eggs, these jars not only taste delightful but look stunning too.
Chocolate Easter Egg Cheesecake Jars
For chocolate lovers, Chocolate Easter Egg Cheesecake Jars are a must-try. Simply mix a tablespoon of cocoa powder into your cream cheese filling for rich, chocolaty goodness. Drizzle chocolate sauce between layers for an indulgent touch. Instead of pastel candy eggs, use chocolate eggs or shavings for a delicious twist. These Easter Egg Cheesecake Jars will satisfy your sweet tooth and have you craving more!
Feel free to explore these variations and create your own unique spin on the classic Easter treat. Happy baking!
Cooking Notes for Easter Egg Cheesecake Jars
Creating Easter Egg Cheesecake Jars is a delightful experience! Here are some handy tips to ensure your jars turn out perfectly:
- Texture Matters: Make sure your cream cheese is adequately softened. It should blend seamlessly for a smooth filling.
- Whipped Cream: Whipping the cream to stiff peaks is crucial for a fluffy texture. This adds lift and creaminess to your jars.
- Coloring Options: Feel free to customize the color of the cheesecake layers. Using freeze-dried strawberry powder not only colors your cheesecake but also adds a fruity flavor.
- Chill Time: Let the jars chill for at least an hour before serving. This helps the flavors meld together beautifully.
For more inspiration, check out a great guide on layered desserts here to explore creative ideas!
Serving Suggestions for Easter Egg Cheesecake Jars
When it comes to enjoying your Easter Egg Cheesecake Jars, presentation and pairing can elevate the experience. Here are some delightful serving suggestions:
-
Festive Platter: Arrange the jars on a cheerful serving platter with faux grass and colorful Easter decorations to create a vibrant centerpiece.
-
Fresh Berries: Serve alongside fresh strawberries or raspberries for a tangy contrast to the creamy cheesecake, enhancing the sweetness.
-
Mini Easter Treats: Add mini chocolate bunnies or marshmallow chicks on the side for a playful touch that complements the jars’ festive theme.
-
Personal Touch: Include personalized tags on each jar for a thoughtful gesture, perfect for gatherings with friends and family.
These Easter Egg Cheesecake Jars will surely be a hit at your spring celebrations!
Tips for Making Perfect Easter Egg Cheesecake Jars
Creating delightful Easter Egg Cheesecake Jars is a fun and rewarding experience! Here are some tips to ensure yours turn out perfectly:
-
Prep Your Ingredients: Make sure your cream cheese is softened to room temperature for a smooth and creamy filling. This really makes a difference in texture!
-
Layer Smartly: When spooning or piping the layers, do so gently to maintain the distinct colors and avoid muddling them together.
-
Chill Time: Allow your cheesecake jars to chill for several hours before serving. This enables the flavors to meld beautifully and the layers to set nicely.
-
Creative Decorating: Don’t hold back on the toppings! Use different types of sprinkles or even edible glitter for a festive touch.
-
Enjoy the Process: Don’t rush! This is all about having fun, so invite friends over to create your cheesecake jars together!
For more inspiration, check out Food Network for various decorating ideas and techniques. Happy baking!
Time breakdown for Easter Egg Cheesecake Jars
Preparation time
Getting ready for these delightful Easter Egg Cheesecake Jars takes about 20 minutes. This includes combining your crust ingredients and whipping up the cream cheese filling.
Chilling time
Once you've assembled the jars, you'll need to let them chill for at least 4 hours. This step allows the flavors to meld beautifully, ensuring each bite is creamy perfection.
Total time
In total, you’re looking at around 4 hours and 20 minutes from prep to a perfectly chilled treat. It’s worth the wait—trust me!
To dive deeper into cheesecake-making tips, check out this guide with professional insights. This will add another layer of expertise to your dessert cooking!
Nutritional Facts for Easter Egg Cheesecake Jars
When indulging in these adorable Easter Egg Cheesecake Jars, it's helpful to know what's in them! Here's a quick breakdown of the nutritional facts:
Calories
Each jar contains approximately 300 calories, making it a sweet yet decadent treat for your spring celebrations.
Protein
With around 4 grams of protein per serving, these jars provide a delightful balance to your dessert without overwhelming your daily intake.
Sugar
Keep your sweet tooth content, as each jar has about 25 grams of sugar. This sweetness comes from the powdered sugar and candy eggs, so enjoy it in moderation!
For more information on nutritional guidelines, check out resources from the American Heart Association. Enjoy your Easter Egg Cheesecake Jars responsibly!
FAQs about Easter Egg Cheesecake Jars
Can I make these jars ahead of time?
Absolutely! Easter Egg Cheesecake Jars are a fantastic make-ahead treat. You can prepare them a day or two in advance and store them in the refrigerator until you’re ready to serve. This not only saves you time on the day of the celebration but also allows the flavors to meld beautifully.
How do I store leftover cheesecake jars?
If you have any leftover cheesecake jars, simply cover them with a tight-fitting lid or plastic wrap and keep them in the refrigerator. They’ll stay fresh for up to three days. Just be cautious about storing them with the decorations (like candy eggs and sprinkles) on top, as they can become soggy.
What can I use as an alternative to graham crackers?
If graham crackers aren’t your thing, fear not! You can use crushed cookies such as Oreos, Biscoff cookies, or even vanilla wafers to create a unique crust. Each option adds its own delicious twist to the Easter Egg Cheesecake Jars and lets you customize the flavors to your liking.
For more tips on storing desserts, check out this helpful article.
Conclusion on Easter Egg Cheesecake Jars
Easter Egg Cheesecake Jars are the perfect treat for celebrating spring. With their delightful layers and colorful toppings, they bring joy to any gathering. Easy to make and customizable, these jars not only taste fantastic but also serve as an eye-catching centerpiece. Share them with loved ones for a memorable holiday!
Easter Egg Cheesecake Jars
Equipment
- Mixing bowl
- mini jars
- Electric Mixer
Ingredients
Crust
- 1 cup graham cracker crumbs
- 2 tablespoons granulated sugar
- 4 tablespoons unsalted butter, melted
Cheesecake Filling
- 8 oz cream cheese, softened 1 block
- ½ cup powdered sugar
- 1 teaspoon vanilla extract
- 1 cup heavy cream whipped to stiff peaks
- 1 tablespoon pink gel food coloring or freeze-dried strawberry powder optional
Toppings
- whipped cream for piping or spooning on top
- 12–18 pieces pastel candy eggs 2–3 per jar
- rainbow or pastel sprinkles to taste
Instructions
Preparation
- In a bowl, combine graham cracker crumbs, sugar, and melted butter. Stir until it resembles wet sand.
- Spoon the crumb mixture into mini jars and press gently to form the crust base.
- In a mixing bowl, beat the cream cheese until smooth. Add powdered sugar and vanilla and beat again until fluffy.
- Fold whipped cream into the cream cheese mixture in two batches until fully combined.
- Divide mixture into two bowls. Tint one with pink food coloring or strawberry powder for a fruity layer.
- Spoon or pipe the pink layer over the crust. Follow with the white layer on top.
- Add a swirl of whipped cream on each jar.
- Decorate with candy eggs and sprinkles. Chill until ready to serve!
Leave a Reply