
Introduction to Easy Milk Bread Loaf
Why Homemade Bread is a Game Changer?
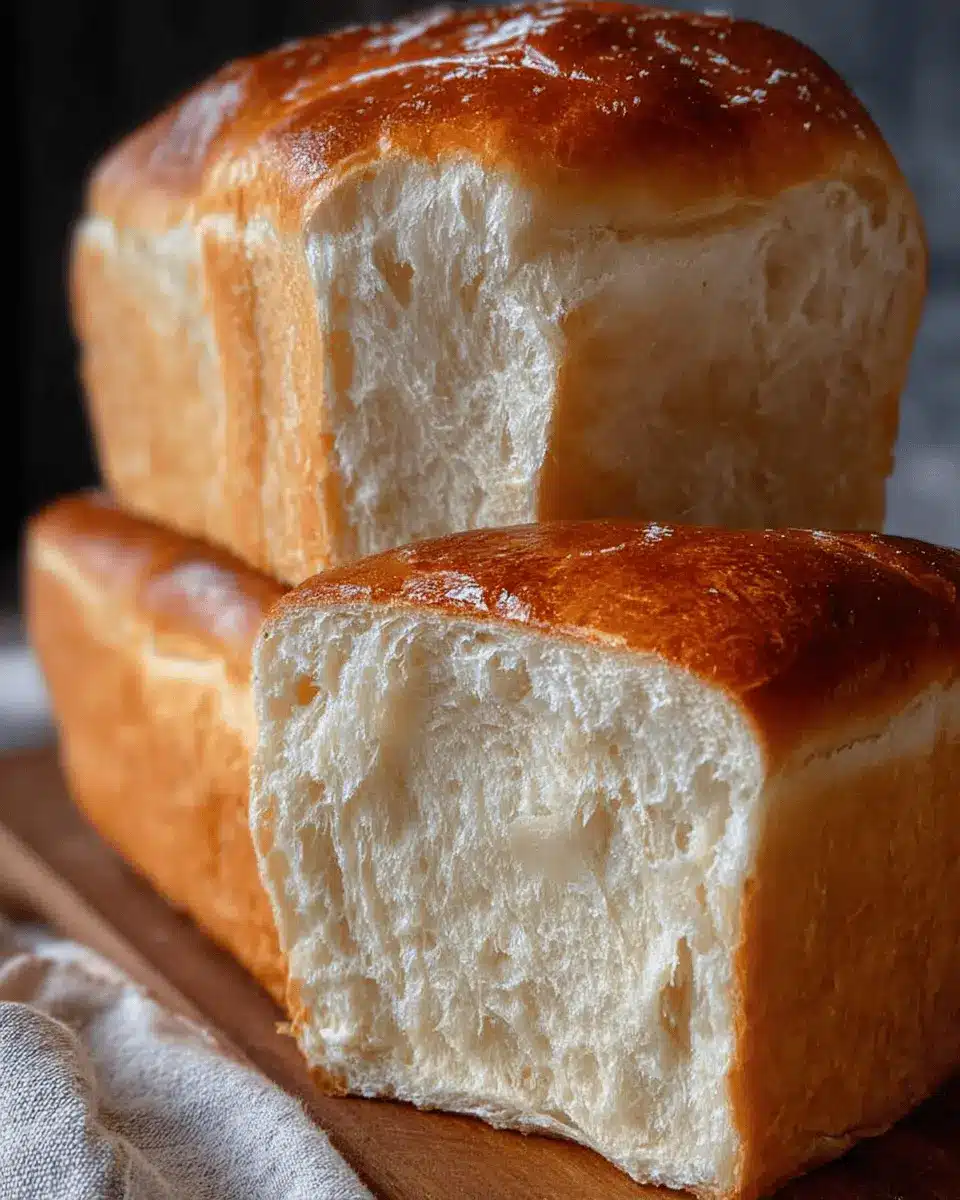
If you’ve ever savored the warm, comforting aroma of freshly baked bread, you’ll understand why diving into homemade options can transform your culinary game. Baking your own easy milk bread loaf not only gives you control over the ingredients but also creates a feeling of accomplishment that store-bought loaves just can’t match.
Homemade bread is often superior in taste and texture; it brings a delightful fluffiness that's simply irresistible. Plus, controlling the sweetness and flavors means you can customize it just the way you like. Did you know that making bread at home can also be more economical? According to Food52, the cost per slice of homemade bread often beats that of store-bought varieties.
But the real joy comes from gathering around the table with family or friends, breaking open a warm loaf, and sharing stories. Whether you’re spreading butter or crafting a delicious sandwich, nothing beats the satisfaction of homemade. So pull up your sleeves, grab your ingredients, and let’s embark on this simple yet rewarding journey to create your very own easy milk bread loaf!
Ingredients for Easy Milk Bread Loaf
If you're dreaming of a soft, fluffy easy milk bread loaf, you'll be pleased to know that the ingredients are simple and straightforward. Here’s what you need to gather for your baking adventure.
Essential ingredients you need
- 500 g bread flour (3¾ cup): The foundation of your loaf for that perfect texture.
- 40 g sugar (3 tablespoons): This adds a slight sweetness and aids in browning.
- 1½ teaspoons instant yeast: Vital for that light, airy crumb.
- 225 g cold water (just under 1 cup): This helps control the dough temperature.
- 115 g cold milk (½ cup): Enhances the richness and softness.
- 9 g sea salt (1½ teaspoons): Essential for flavor and proper fermentation.
- 25 g unsalted butter (1¾ tablespoons): For that delicious buttery taste.
Optional ingredients for fun variations
Feel free to get creative! Consider adding:
- Milk powder: For an even richer flavor and softer texture.
- Herbs and spices: Such as rosemary or cinnamon for a unique twist.
- Cheese: Think of incorporating shredded cheese for a savory option.
- Seeds: Poppy or sesame seeds sprinkled on top before baking for added crunch.
These optional ingredients let you customize your easy milk bread loaf to suit your cravings! So, what variation will you try first?
Step-by-step preparation of Easy Milk Bread Loaf
Making an easy milk bread loaf at home is not only satisfying but also a wonderful way to impress family and friends with freshly baked goodness. Here’s a straightforward guide to walk you through each step, ensuring your bread turns out deliciously fluffy every time.
Gather your tools and ingredients
Before you dive into the baking process, it’s essential to have all your ingredients and tools ready. Here's what you’ll need:
-
Tools:
-
A loaf pan (10 x 5 inches)
-
Stand mixer for effortless mixing
-
Ingredients:
-
500 g bread flour (3¾ cups)
-
40 g sugar (3 tablespoons)
-
1½ tsps instant yeast
-
225 g cold water (just under 1 cup)
-
115 g cold milk (½ cup)
-
9 g sea salt (1½ tsp)
-
25 g unsalted butter (1¾ tbsp)
-
Additional butter for greasing and brushing
-
Flour for coating the pan
Make sure to measure your ingredients accurately, preferably with a kitchen scale for the best results.
Mixing the dough
In your stand mixer, combine the bread flour, sugar, yeast, cold water, and cold milk. Mix on low speed until a cohesive dough forms. After this initial mix, cover the bowl and let the dough rest for about 30 minutes. This resting period is key for hydration. Meanwhile, cut the butter into chunks and let it soften slightly at room temperature.
Kneading essentials
After the dough has rested, sprinkle the sea salt and continue kneading for another minute. Next, add the softened butter in small cubes. Here’s a tip: use the windowpane test to check your dough's gluten development! If it stretches without tearing, you’re right on track. Typically, this kneading phase can take about 7 minutes depending on your mixer’s strength.
Shaping the bread
Once kneaded, transfer the dough onto a lightly floured surface. Divide it into three even portions by cutting, not tearing! Form each portion into a ball and let them rest covered under a damp cloth for 15 minutes. This relaxed state helps make shaping easier. Afterward, roll each piece into an oval, then roll it up into a log. Repeat this for all pieces and allow them another 15 minutes of rest—a little patience goes a long way!
Proofing for that perfect rise
Grease your loaf pan and sprinkle a little flour in it. Place your rolled dough in the pan, cover with greased plastic wrap, and let it rise in a warm spot until it fills 80-90% of the pan—this can take about 1 to 1.5 hours. A great tip here is to proof your dough in an oven with a pan of hot water on the bottom rack—it creates a warm, humid environment for better rising.
Baking your loaf to perfection
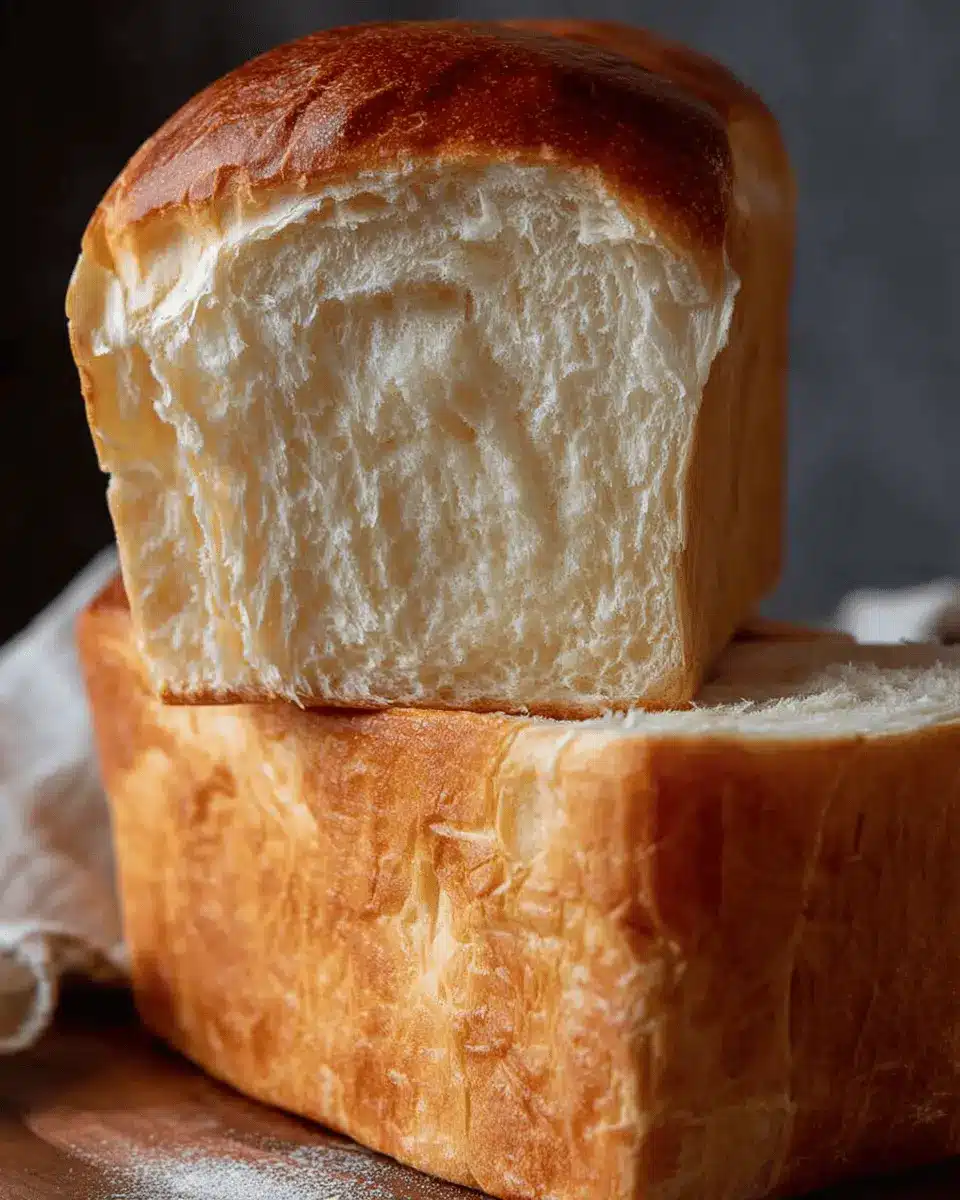
As your dough nears the end of proofing, preheat your oven to 375°F. Bake your loaf for 30-35 minutes, but remember to loosely cover it with foil after the first 15 minutes to avoid over-browning. Once done, drop the pan from a small height onto the counter to help set the bread's structure. Brush the top with some melted butter and let it cool on a rack for about 15 minutes before slicing into that beautiful easy milk bread loaf!
And there you have it—each step is integral to making this simple, yet stunning milk bread. With just a bit of effort, you'll have a loaf that's perfect for breakfast, sandwiches, or just enjoying as is! Happy baking!
Variations on Easy Milk Bread Loaf
Adding flavors to your milk bread
Elevate your easy milk bread loaf by incorporating delightful flavors. Consider adding:
- Herbs: Fresh rosemary or thyme for a fragrant touch.
- Spices: Cinnamon or nutmeg for a warm, cozy vibe.
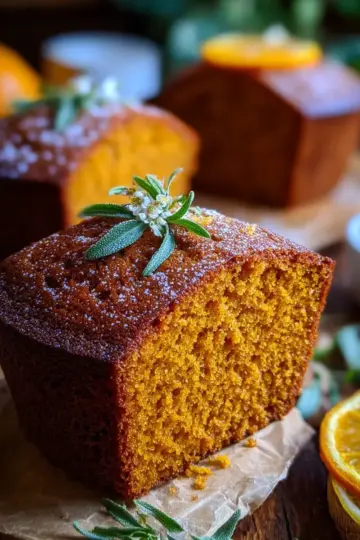
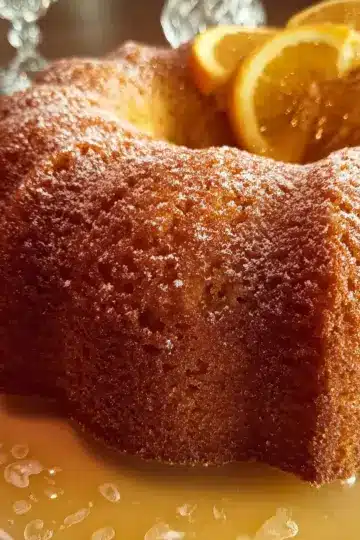
- Zest: Orange or lemon zest can brighten up the flavors beautifully, making your bread perfect for breakfast.
Simply mix these ingredients into your dough during the initial stages. The result? A loaf that delights the senses!
Using whole wheat or gluten-free alternatives
For a healthier version or dietary needs, try substituting part of the bread flour with whole wheat flour. This adds a nutty flavor and increases fiber content. If gluten-free is your focus, opt for a gluten-free flour blend and add a binding agent, like xanthan gum, to maintain structure. Remember, adjustments in hydration might be needed!
By making these small changes, you can enjoy a delicious twist on the classic milk bread loaf, tailored to your taste preferences or dietary needs!
Cooking Tips and Notes for Easy Milk Bread Loaf
Common Mistakes to Avoid
When making your easy milk bread loaf, it's crucial to steer clear of common pitfalls. One mistake is not properly measuring your ingredients. Always use a kitchen scale for accuracy. Another misstep is skipping the resting period; allowing your dough to rest helps achieve that tender crumb. Additionally, avoid using warm liquids, as this can lead to over-kneading and a dense texture.
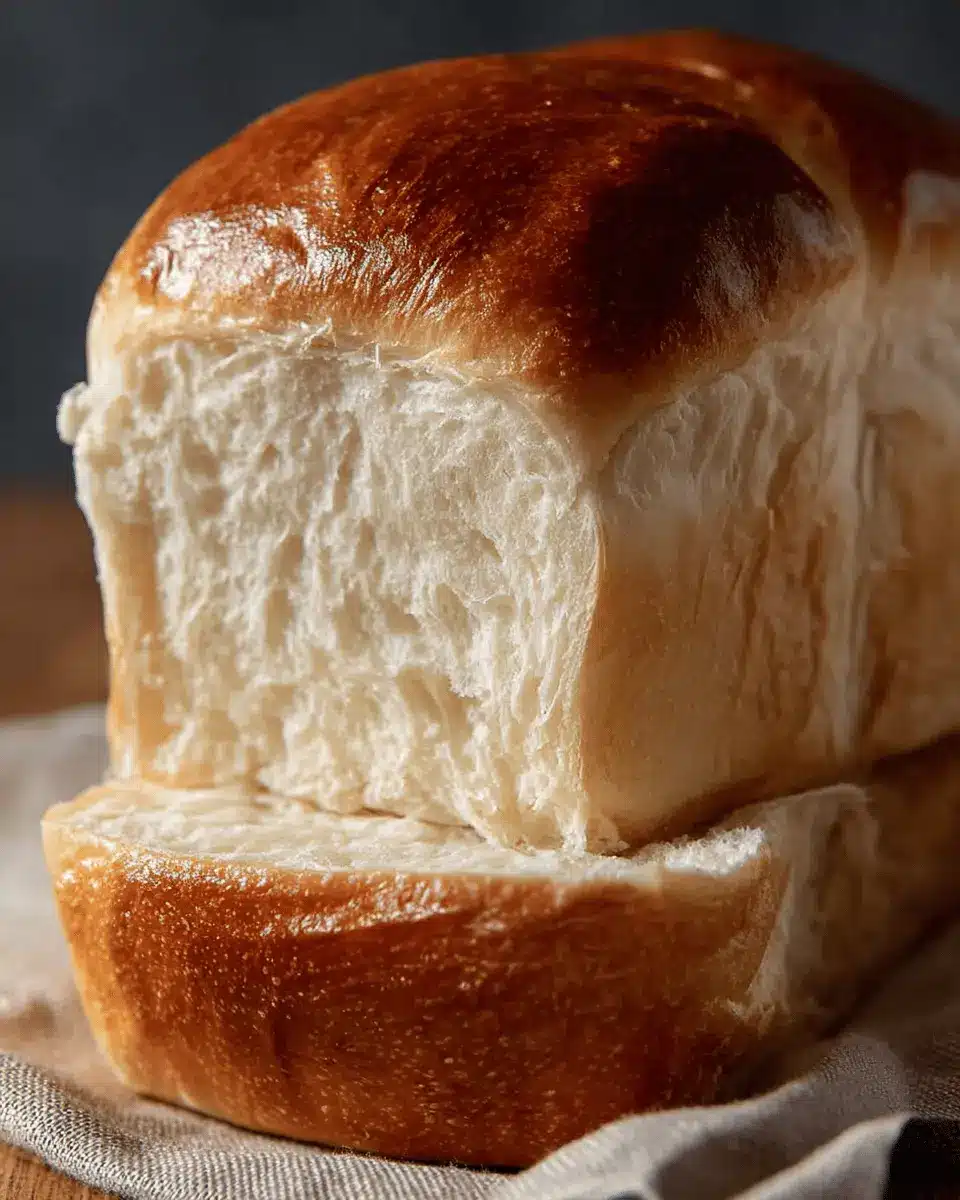
How to Achieve the Fluffiest Texture
For a light and airy loaf, incorporate these simple tips. First, ensure your mixing bowl and dough are kept cool. Using cold water and milk can make a significant difference. Second, embrace the autolyse method, which allows the flour and water to rest before adding salt and fat. This strengthens the dough's gluten, promoting a fluffier final product. Finally, don’t rush the proofing process—patience is key for that perfect rise!
Serving suggestions for Easy Milk Bread Loaf
Best ways to enjoy your milk bread
This easy milk bread loaf is delightfully versatile! For breakfast, try it toasted with a smear of butter or your favorite jam. It’s also perfect for sandwiches—consider using it for a classic turkey bacon and avocado combo or a homemade chicken ham panini. Want something sweet? Use slices to create a decadent French toast topped with fresh fruit and maple syrup.
Creative uses for leftovers
If you have leftover slices, don’t toss them! Transform your easy milk bread loaf into delectable bread puddings or croutons for soups and salads. Alternatively, blend the crumbs into a topping for a bubbly casserole. You can even whip up a savory bread salad with diced bread, colorful veggies, and pita dressing for a refreshing twist. The possibilities are endless!
Time Breakdown for Easy Milk Bread Loaf
Preparation Time
Set aside about 30 minutes for the preparation of your easy milk bread loaf. This time includes mixing your ingredients, kneading the dough, and letting it rest for a short while.
Proofing Time
The dough requires about 3 hours and 15 minutes for proofing and resting. This includes the initial rise and the final proofing in the loaf pan, giving your bread that fluffy, airy texture.
Baking Time
Baking is a breeze at around 30 to 35 minutes! Keep an eye on it to ensure it doesn’t over-brown—just right for that perfect crust.
Total Time
From start to finish, you’ll invest a total of 4 hours and 20 minutes to enjoy your homemade easy milk bread loaf. It's well worth it for the delicious aroma and taste that fill your kitchen!
For more tips on bread making, check out resources like King Arthur Baking or The Bread Lab. Happy baking!
Nutritional Facts for Easy Milk Bread Loaf
When you're whipping up this easy milk bread loaf, it’s good to know what you're indulging in!
Calories
Each slice contains about 189 calories, making it a delightful treat that won't overly burden your daily intake.
Carbohydrates
With 35g of carbohydrates per slice, this loaf serves as a great source of energy, perfect for breakfast or a mid-day snack to keep you fueled throughout your busy day!
Protein
One slice packs in 6g of protein, contributing to your daily nutritional needs and helping to keep you satisfied. This makes the easy milk bread loaf not just delicious, but also a balanced addition to your meals.
For more detailed information, consider checking out sources on food nutrition like the USDA Food Data Central. Happy baking!
FAQ about Easy Milk Bread Loaf
Can I make the dough ahead of time?
Absolutely! You can prepare the dough and refrigerate it for up to 24 hours. Just allow it to come to room temperature before shaping and proofing. This time-saving tip is perfect for busy schedules!
Why is it important to use cold liquids?
Using cold liquids in your easy milk bread loaf recipe helps control the temperature of the dough during kneading. This ensures that the dough doesn’t warm up too quickly, which could negatively affect the texture. Fellow bakers often suggest chilling your liquids for about 30 minutes before you start—especially in warmer months.
How do I know when the bread is done?
To check if your bread is fully baked, aim for an internal temperature of 190°F (87°C). Alternatively, you can tap the bottom of the loaf; a hollow sound indicates it's ready. Don’t forget, the easy milk bread loaf should have a beautiful golden crust when it’s finished baking!
If you want more tips, check out this excellent guide on bread baking, and elevate your baking skills!
Conclusion on Easy Milk Bread Loaf
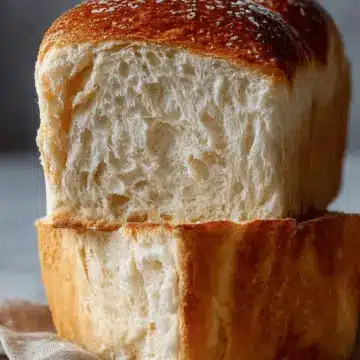
In summary, this easy milk bread loaf is not only a treat for your taste buds but also a wonderful addition to any home kitchen. With minimal ingredients and straightforward steps, you'll find that making your own fluffy, fragrant bread is both satisfying and rewarding. Enjoy it fresh or toasted—either way, it’s a delightful choice for breakfast or snacks!
Easy Milk Bread Loaf
Equipment
- Loaf pan
- Stand Mixer
Ingredients
Dough Ingredients
- 500 g bread flour 3¾ cup
- 40 g sugar 3 tablespoon
- 1.5 tsps instant yeast
- 225 g cold water a little bit less than 1 cup
- 115 g cold milk ½ cup
- 9 g sea salt 1½ tsp
- 25 g unsalted butter 1¾ tbsp
Coating Ingredients
- butter for coating the pan and brushing the bread
- flour for coating the pan
Instructions
Making Bread Dough
- Mix bread flour, sugar, yeast, water and milk in a stand mixer, kneading on low speed until the dough is formed.
- Cover the mixing bowl and let it rest for 30 minutes. Meanwhile, bring the butter out from the fridge, cut it into 4 pieces and leave it on the counter to soften a little.
- Add salt and continue to knead the dough for 1 minute.
- Add butter cubes and knead until the dough passes the windowpane test.
- Form the dough into a ball (it will be a bit sticky) and put it in a lightly greased bowl. Cover and let it rise in a warm place (between 82°F to 90°F) for 1 hour until it almost doubles in size.
Shaping
- Transfer the dough onto a working surface and cut it into 3 even pieces. Form each piece into a ball. Cover the dough balls with a damp dish towel or greased plastic wrap, allowing them to rest for 15 minutes.
- Roll the dough out with a rolling pin to an oval shape and then roll it up to a log, do the same for the other two pieces, cover and let it rest for another 15 minutes.
- For each log, rotate the dough 90 degrees before rolling them out again into long rectangles and rolling each rectangle back up into a cinnamon roll type of shape.
- Grease a 10 x 5 loaf pan and coat with a thin layer of flour. Put the rolled up dough into the pan, cover with greased plastic wrap and let it rise in a warm place until it fills 80-90% of the pan (this takes about 1-1.5 hours).
Baking
- Preheat the oven to 375°F in the last 20 minutes of proofing. Move the rack to about ⅓ of the way from the bottom.
- Put it in the oven to bake for 30-35 minutes. Loosely cover with a piece of foil after baking for 15 minutes to prevent the bread color from turning too dark.
- Remove bread from the oven and drop the pan on the counter top (from around two inches up) once to help prevent it from shrinking, then transfer the bread on a cooling rack right away. Brush the top with melted butter and let it cool for 15 minutes before enjoying.

Leave a Reply