
Introduction to Homemade Banana Pudding
Why Homemade Banana Pudding is a Game Changer
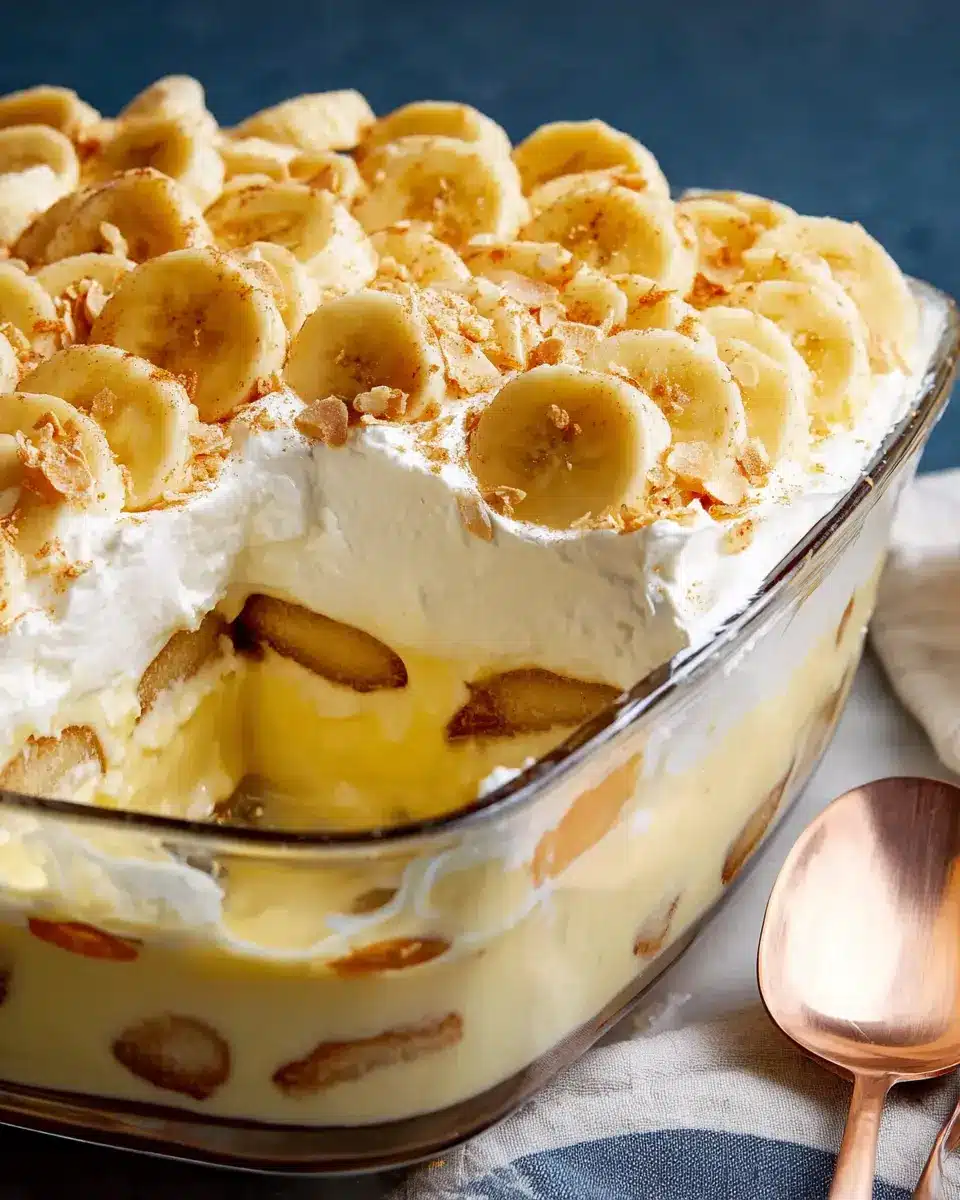
If you've ever tasted homemade banana pudding, you know it’s a dessert that transcends mere sweetness. It's a warm hug in a bowl, a delightful reminder of childhood gatherings and family recipes. Unlike store-bought versions that often lack character, making banana pudding from scratch offers a level of creaminess and flavor that's unparalleled.
When you prepare it at home, you control every ingredient. This means you can use fresh bananas, high-quality vanilla, and even adjust the sweetness to your preference. Did you know that using ripe bananas not only enhances the flavor but also increases the pudding's natural sweetness? Plus, making it at home can be a fun activity to share with loved ones.
“But what if I don't have time?” you might wonder. The prep time is only 10 minutes! That's a small investment for a dessert that will impress your friends and family. Whether served at a summer picnic or as a comforting treat on a chilly evening, this homemade banana pudding is bound to become a new favorite in your dessert repertoire.
By investing just a little time in your kitchen, you’ll be amazed at how satisfying it is to dig into a bowl of this classic treat, knowing you’ve created it from scratch. So let’s dive into the recipe!
Ingredients for Homemade Banana Pudding
Creating the perfect homemade banana pudding is all about gathering the right ingredients to bring nostalgic flavors to life. Let’s explore what you need for this delicious treat!
Essential ingredients for a classic recipe
These are the foundational components that will make your pudding rich and creamy:
- ⅔ cup white sugar: For that essential sweetness.
- ⅓ cup all-purpose flour: Helps thicken the pudding.
- ¼ teaspoon salt: Just a pinch to enhance the flavors.
- 3 large eggs, beaten: For creaminess and richness.
- 2 cups milk: Whole milk works best for a silky texture.
- 2 tablespoons butter, softened: Adds richness.
- ½ teaspoon vanilla extract: For that classic flavor profile.
- 2 bananas, peeled and sliced: Freshness is key!
- ½ (12 ounce) package vanilla wafer cookies: Provides that delightful crunch.
Optional ingredients for variation
Want to add a twist to your homemade banana pudding? Consider these fun variations:
- Chocolate chips or cocoa powder: For a chocolate banana pudding experience.
- Nutmeg or cinnamon: A sprinkle for warm, spicy notes.
- Peanut butter: Swirl it in for a nutty flavor.
- Whipped cream: Top it off for a luxurious finish.
Experimenting with these optional ingredients can make your banana pudding uniquely yours! For more tips on ingredient substitutions, check out this article from America’s Test Kitchen. Enjoy whipping up this family favorite!
Step-by-step Preparation of Homemade Banana Pudding
Creating homemade banana pudding is a delightful process that reminds many of cherished family gatherings and the warmth of childhood kitchens. Let’s dive into the step-by-step preparation to ensure you nail this comfort dessert!
Gather all ingredients
Before you start, make sure you have all your ingredients ready. This helps streamline your cooking experience and ensures you don’t miss anything. Here’s what you’ll need:
- ⅔ cup white sugar
- ⅓ cup all-purpose flour
- ¼ teaspoon salt
- 3 large eggs, beaten
- 2 cups milk
- 2 tablespoons butter, softened
- ½ teaspoon vanilla extract
- 2 bananas, peeled and sliced
- ½ (12-ounce) package vanilla wafer cookies
Take a moment to check your pantry and fridge. If you haven’t already, consider grabbing organic bananas for an even tastier pudding!
Combine sugar, flour, and salt
In a medium saucepan, whisk together the sugar, flour, and salt. This dry mixture forms the base of your pudding and helps create that creamy texture you love. Be sure to break up any lumps so everything incorporates smoothly; a classic tip from seasoned bakers!
Whisk in eggs and milk
Next, add your beaten eggs and milk to the dry mixture. Whisk vigorously until fully combined. The consistency should be smooth, making it easy to cook. Using whole milk gives your pudding that rich, creamy taste — and trust me, you’ll want to savor every spoonful!
Cook until thickened
Now, it’s time to head to the stove! Cook your mixture over low heat, stirring constantly. Patience is key here. It can take up to 15 minutes for the pudding to thicken enough to coat the back of a spoon. If you’re unsure, use an instant-read thermometer — your pudding should reach around 170°F.
Incorporate butter and vanilla
Remove the saucepan from heat and continue to stir for a little while longer. This step is crucial as it prevents lumps. Once it has cooled slightly, whisk in the butter and vanilla extract. The aroma will be heavenly! This step adds layers of flavor that will make your homemade banana pudding special.
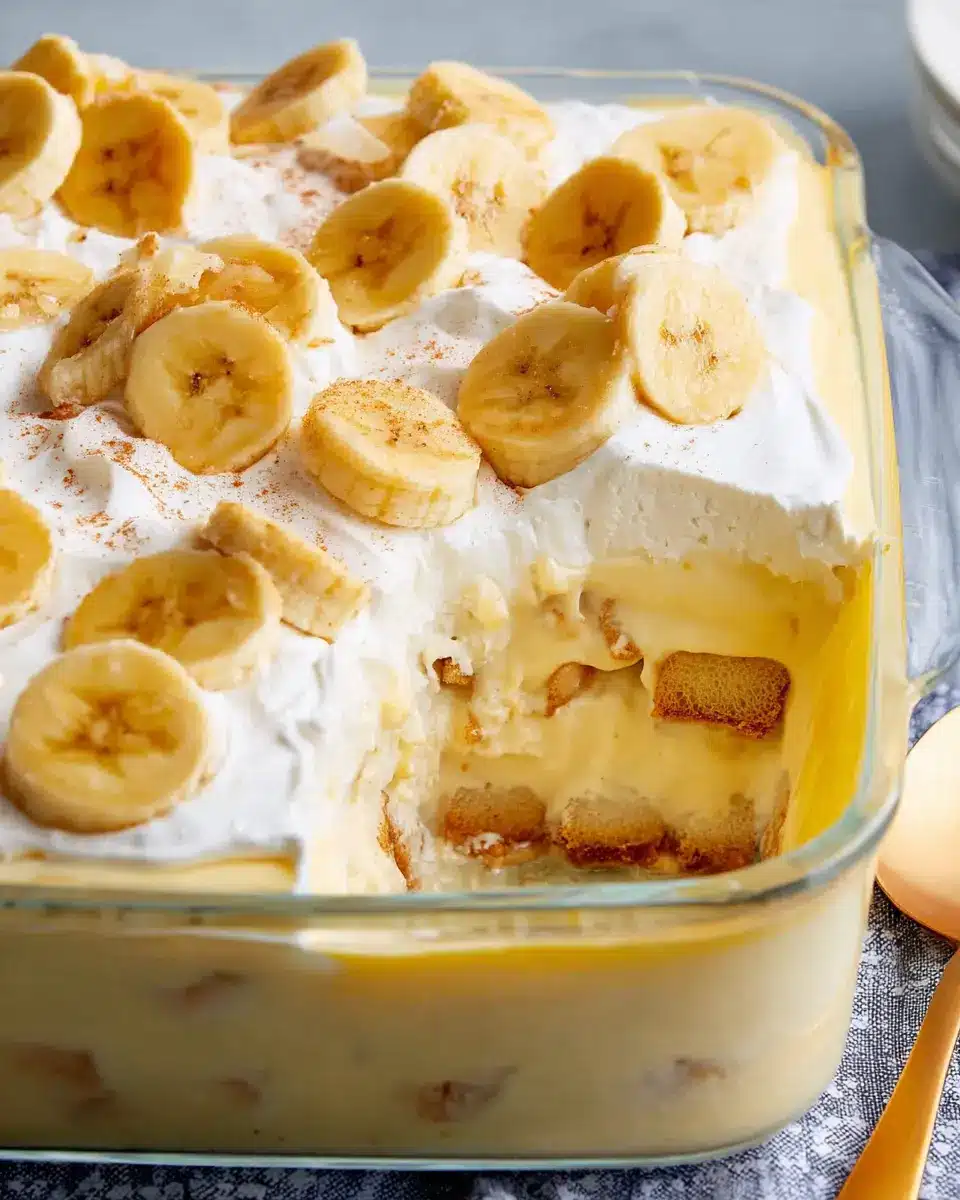
Layer with bananas and wafers
Now for the fun part! In a large serving dish, spread a layer of pudding followed by a layer of sliced bananas and vanilla wafers. Repeat until you’ve used all your ingredients, ensuring the last layer is pudding-topped with remaining banana slices, of course!
Chill before serving
For the best flavor and texture, cover the dish with plastic wrap and chill it in the refrigerator for at least one hour. This allows the flavors to meld and offers that delightful cold temperature that makes each bite refreshing.
In just a little bit of time, you’ll be enjoying your homemade banana pudding, a dish that not only tastes great but also brings fond memories for many. Happy cooking!
Variations on Homemade Banana Pudding
Banana pudding with chocolate layer
Have you ever thought about indulging in a chocolate twist on your traditional homemade banana pudding? Simply melt some dark chocolate or use chocolate pudding mix as a delightful layer between the vanilla pudding and the bananas. It adds a rich, decadent flavor that pairs perfectly with the sweetness of the bananas. You can also sprinkle some chocolate shavings on top for an extra touch.
Vegan-friendly banana pudding
Looking for a plant-based option? You can create a vegan-friendly banana pudding that’s just as creamy and delicious. Use almond or coconut milk in place of dairy and substitute the eggs with a cornstarch mix for thickening. Instead of traditional vanilla wafers, consider crunchy granola or homemade coconut cookies to elevate your dessert game.
These variations will surely impress your friends and family, making your dessert table unforgettable! For additional tips and recipes, check out resources like The Kitchn or Minimalist Baker.
Cooking Tips and Notes for Homemade Banana Pudding
Patience is key
Making homemade banana pudding is all about patience. When cooking the mixture, keep the heat low and stir constantly. This ensures a smooth, creamy texture that’s essential for the perfect pudding. Rushing this step might lead to lumps, which you definitely want to avoid. Remember, good things come to those who wait!
Check for the right consistency
As you stir, take your time to check for that classic pudding consistency. It should be thick enough to coat the back of a spoon. If it’s too runny, continue cooking it gently. And don’t forget to taste! It’s a great way to enjoy the process and ensure your homemade banana pudding is just right.
For more tips on achieving the perfect pudding, consider checking out resources like Fine Cooking or Serious Eats.
Serving Suggestions for Homemade Banana Pudding
Classic Presentation Ideas
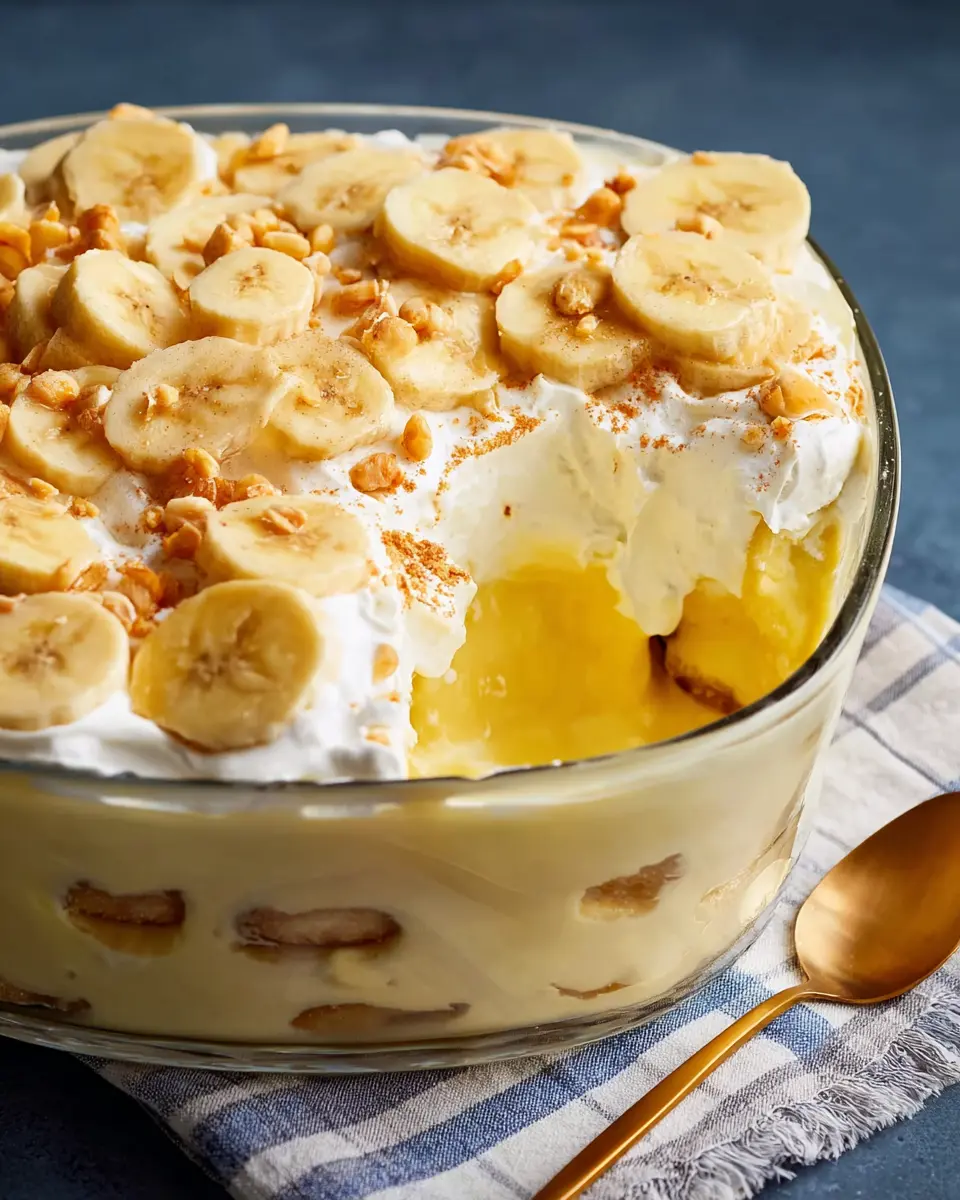
For a truly delightful experience, layer your homemade banana pudding in a clear glass dish or individual parfait cups. This not only showcases the creamy layers of pudding, bananas, and cookies but also adds a touch of elegance to your dessert table. Consider garnishing with a dollop of whipped cream or a sprinkle of crushed vanilla wafers on top—simple yet effective!
Creative Serving Options
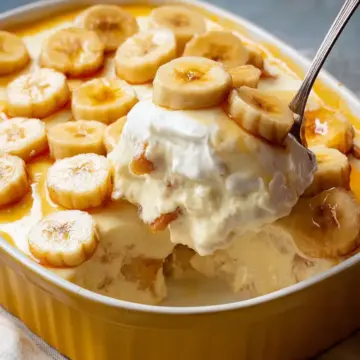
Feeling adventurous? Serve your homemade banana pudding in mini mason jars for a fun, portable option that’s perfect for gatherings. You can also pair it with a scoop of vanilla ice cream for an irresistible sundae twist! Alternatively, drizzle some caramel or chocolate sauce on top to elevate the flavor profile. The options are endless—get creative and let your taste buds guide you! For more tips on dessert presentation, check out The Kitchn.
Time Breakdown for Homemade Banana Pudding
Preparation Time
Getting everything ready for your homemade banana pudding takes just 10 minutes. This is the perfect time to enjoy a cup of coffee or catch up on your favorite podcast while you gather your ingredients!
Cooking Time
You’ll spend about 20 minutes on the stove, whisking your way to a deliciously creamy pudding. Don’t forget to stir constantly—this step is key for achieving that smooth texture!
Total Time
When you factor in the chilling period, the entire process takes about 1 hour and 30 minutes. This might sound like a while, but trust me, it’s worth the wait for that delectable, homemade banana pudding you’ll be serving up!
For a deeper dive into the world of banana desserts, check out sources like BBC Good Food, or for tips on banana nutrition, visit Healthline to explore how bananas fit into a healthy diet.
Nutritional Facts for Homemade Banana Pudding
Calories per serving
Indulging in this homemade banana pudding offers about 580 calories per serving, a delightful treat that balances richness with sweetness.
Macronutrient breakdown
Here's what you can expect in terms of macronutrients for each serving:
- Total Fat: 19g
- Saturated Fat: 8g
- Cholesterol: 168mg
- Total Carbohydrate: 92g
- Dietary Fiber: 2g
- Total Sugars: 62g
- Protein: 13g
This delectable dessert not only satisfies your sweet tooth but also provides a good source of protein alongside essential vitamins. Be sure to check out Healthline for more insights into sugar intake and its relation to overall health! Enjoy this iconic dessert, keeping in mind its nutritional profile, for a balanced approach to your indulgence.
FAQs about Homemade Banana Pudding
How can I make my pudding creamier?
If you’re aiming for a ultra-creamy texture in your homemade banana pudding, consider adding an extra egg yolk or two during the cooking phase. This will enrich the consistency. Switching to whole milk or even adding a splash of heavy cream can also elevate the creaminess factor.
Can I make this dessert in advance?
Absolutely! Homemade banana pudding actually benefits from settling in the fridge. Prepare it a day ahead, and it’ll allow the flavors to meld beautifully. Just be sure to add the bananas right before serving to keep them fresh and prevent browning.
What are successful substitutes for ingredients?
If you're out of vanilla wafers, crushed graham crackers or even shortbread cookies work well as a substitute. For a dairy-free option, try using almond milk and dairy-free butter. Each alternative can change the flavor profile slightly but can still lead to a delicious treat!
For more tips on creating a perfect pudding, check out this resource for expert advice!
Conclusion on Homemade Banana Pudding
There's something effortlessly comforting about homemade banana pudding. It evokes a sense of nostalgia while delighting your taste buds. Whether it's a family gathering or a simple dessert after dinner, this classic dish is sure to impress. So, grab your ingredients and start creating your delicious memories today!
Homemade Banana Pudding
Equipment
- medium saucepan
- whisk
- Large serving dish
Ingredients
- ⅔ cup white sugar
- ⅓ cup all-purpose flour
- ¼ teaspoon salt
- 3 large eggs, beaten
- 2 cups milk
- 2 tablespoons butter, softened
- ½ teaspoon vanilla extract
- 2 bananas, peeled and sliced
- ½ 12 ounce package vanilla wafer cookies
Instructions
- Gather all ingredients.
- Combine sugar, flour, and salt together in a medium saucepan. Whisk in eggs and milk; cook mixture over low heat, stirring constantly, until mixture has thickened enough to coat the back of a spoon, up to 15 minutes.
- Remove from heat and continue to stir until pudding has cooled slightly; whisk in butter and vanilla until incorporated and smooth.
- Spread pudding into a large serving dish; layer with sliced bananas and vanilla wafers.
- Chill at least 1 hour in the refrigerator before serving.
Leave a Reply