
Introduction to Japanese Katsu Bowls
What is a Katsu Bowl and Why is it a Go-To Comfort Food?
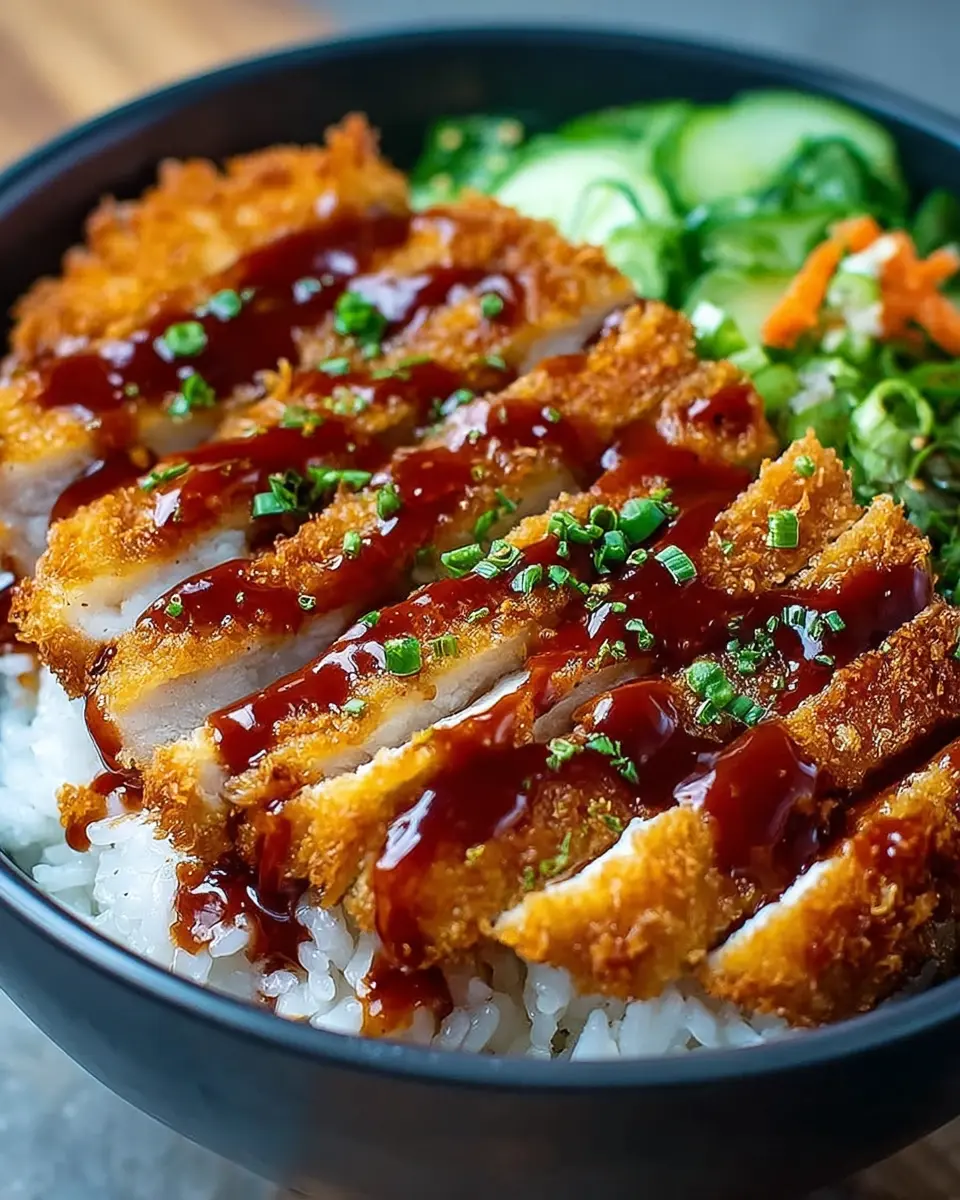
If you’ve ever sought out an easy yet satisfying meal, Japanese katsu bowls are likely to make your shortlist. At their heart, katsu bowls make use of crispy, breaded meat—traditionally chicken or pork—served atop a bed of warm Japanese short-grain rice. It’s a harmonious balance of flavors and textures that will comfort you after a long day.
What makes katsu so beloved? The crispy coating, achieved through the use of panko breadcrumbs, lends a satisfying crunch that complements the juicy meat inside. Add the rich tang of tonkatsu sauce and a drizzle of creamy Japanese mayo, and you’ve got a dish that tantalizes the taste buds. Quick to prepare and utterly delicious, this meal embodies the essence of comfort food.
Incorporating elements like shredded cabbage or aromatic green onions can elevate your katsu bowl even further. This versatility allows you to customize it according to your tastes, whether you prefer a classic preparation or want to get creative with toppings. Want to learn how to create this delectable dish from scratch? Let’s dive in!
Consider exploring sources like Just One Cookbook to get inspired with the authentic techniques behind cooking this iconic dish.
Ingredients for Japanese Katsu Bowls
Creating the perfect Japanese Katsu Bowl is all about using the right ingredients. Here’s a breakdown of what you need to make this dish shine.
Essential Ingredients for the Cutlet
To achieve that crispy and flavorful katsu, you'll want to focus on high-quality components for the cutlet. Gather the following:
- 2 boneless skinless chicken breasts, pounded thin for even frying
- Salt and pepper to taste for seasoning
- ½ cup all-purpose flour to create a light coating
- 2 eggs, beaten, which will help the breadcrumbs adhere
- 1 cup panko breadcrumbs for that signature crunch
- Neutral oil for frying (like canola or vegetable) to keep the flavors clean
Ingredients for the Sauces and Bowl Assembly
Now, let’s not forget about the delicious sauces and garnishes that elevate your Japanese Katsu Bowl. You'll need:
-
Tonkatsu Sauce:
-
3 tablespoon ketchup
-
1 tablespoon Worcestershire sauce
-
1 tablespoon soy sauce
-
1 tablespoon mirin or sugar
-
½ teaspoon Dijon mustard
-
Japanese Mayo Sauce:
-
3 tablespoon Japanese mayo (Kewpie preferred)
-
1 teaspoon rice vinegar
-
½ teaspoon sugar
-
1 teaspoon chopped pickles or herbs (optional)
-
For the Bowl:
-
2 cups cooked Japanese short-grain rice for a sticky, authentic texture
-
Optional toppings include shredded cabbage, sesame seeds, and green onion for an added crunch and flavor
Gather these ingredients, and you'll be on your way to assembling a delightful and satisfying meal. Don't have all these items? Check your pantry or visit Asian grocery stores for authentic ingredients!
Stay tuned for the cooking process to indulge in your homemade Japanese Katsu Bowl masterpiece!
Preparing Japanese Katsu Bowls
Creating Japanese Katsu Bowls at home is a rewarding experience, especially when you take the time to perfect each step of the process. Whether you’re a novice in the kitchen or a seasoned cook, these crispy and flavorful bowls will impress anyone you share them with. Let's dive into each step!
Preparing the Chicken Cutlet
Start with 2 boneless, skinless chicken breasts. To ensure everything cooks evenly, pound them to about ½ inch thick. This isn't just for aesthetics; thinner cutlets cook faster and achieve that coveted crispiness. Season your chicken with salt and pepper to taste. If you happen to have some fresh herbs like thyme or rosemary, feel free to sprinkle those in as well for an extra flavor boost!
Breading the Chicken
This is where the magic happens! Set up a breading station: place ½ cup of all-purpose flour in one bowl, beat 2 eggs in another, and put 1 cup of panko breadcrumbs in a third. Dredge each chicken cutlet in flour first, ensuring every surface is coated. Next, dip it into the beaten eggs, letting the excess drip off. Finally, roll it in the panko breadcrumbs, pressing firmly to adhere well. This three-step process not only creates a beautiful crust but also locks in moisture during frying.
Frying the Cutlet to Perfection
Heat a skillet with about an inch of neutral oil, like canola or vegetable oil, to around 350°F. The right temperature is key to achieving that golden-brown exterior; too low, and you’ll get greasy chicken; too high, and it’ll burn before cooking through. Fry the cutlets for about 3–4 minutes on each side or until they're beautifully golden and cooked through. Let them drain on a wire rack for maximum crisp. Using a wire rack prevents sogginess as the steam can escape.
Making the Tonkatsu and Japanese Mayo Sauces
Now let’s elevate those Japanese Katsu Bowls with some homemade sauces! For the tonkatsu sauce, whisk together 3 tablespoon of ketchup, 1 tablespoon each of Worcestershire sauce and soy sauce, 1 tablespoon of mirin (or sugar), and ½ teaspoon of Dijon mustard. For a creamy touch, mix 3 tablespoon of Japanese mayo (Kewpie is ideal) with 1 teaspoon of rice vinegar and ½ teaspoon of sugar. Have fun with this step—consider adding pickles or chopped herbs for extra flavor!
Assembling Your Delicious Bowl
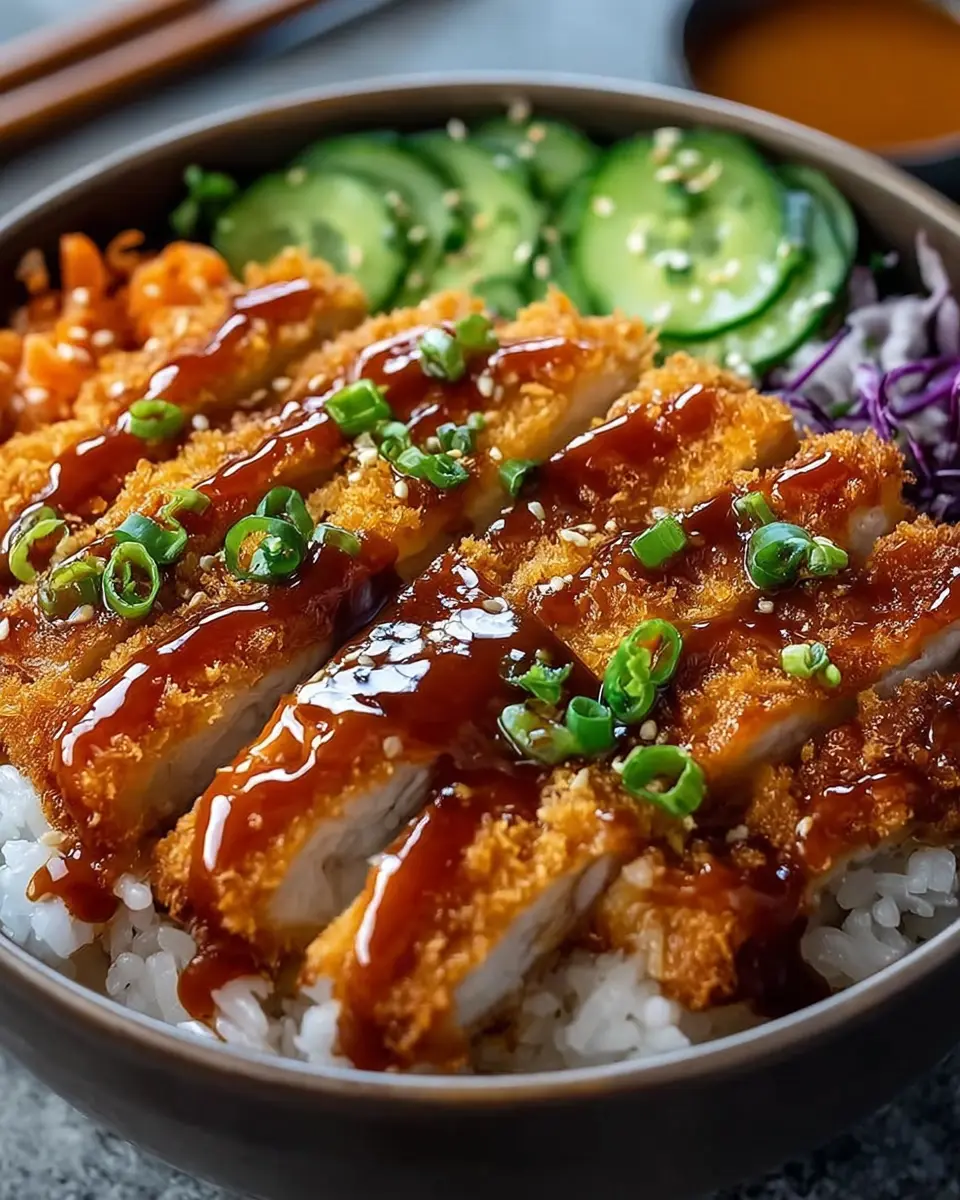
To bring everything together, start with 2 cups of cooked Japanese short-grain rice as your base. Slice your fried cutlet and lay it over the rice. Drizzle both the tonkatsu sauce and the Japanese mayo over the top. Add optional garnishes like shredded cabbage, sesame seeds, or green onion for a color contrast and added crunch.
Voilà! You’ve just created a delightful Japanese Katsu Bowl that’s sure to impress. These steps will not only help you make a delicious meal but also allow for creativity as you experiment with flavors and textures. Happy cooking, and enjoy every bite!
For more insight into the innovative world of Japanese cooking, you might want to check out Nami’s Kitchen for excellent recipes and tips!

Variations on Japanese Katsu Bowls
Katsu Bowl with Pork or Beef Options
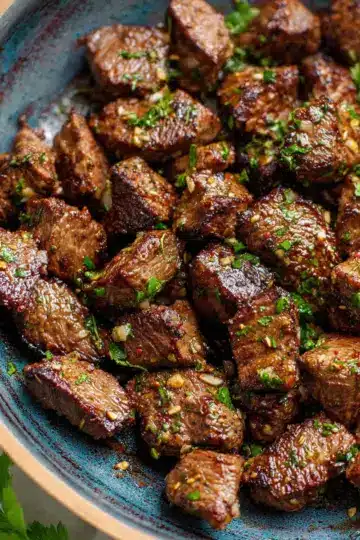
For a heartier twist, consider using beef in your Japanese Katsu Bowls. The rich flavor of beef pairs wonderfully with the crispy texture of the katsu, and you can use cuts like flank or sirloin for a tender bite. If you prefer the beloved classic, opt for pork. Both proteins can be seasoned similarly, ensuring that each bowl delivers delicious taste.
Vegetarian Katsu Bowl with Eggplant or Tofu
If you’re looking for a plant-based alternative, try making a vegetarian katsu bowl using eggplant or tofu instead of meat. Eggplant absorbs flavors beautifully and becomes tender when fried, while tofu can be marinated for an additional layer of taste. Serve these versions with the same delightful tonkatsu sauce and mayonnaise to keep that authentic katsu feel.
Experimenting with various proteins not only diversifies flavors but also allows you to cater to different dietary preferences, ensuring everyone can enjoy these fantastic bowls!
Cooking Tips for Japanese Katsu Bowls
Ensuring Optimal Crispiness for Your Cutlet
To achieve that perfect crunch on your cutlet, make sure your oil is preheated to 350°F. The right temperature is crucial—too low, and your chicken will soak up oil; too high, and it can burn. Once fried, allow your cutlets to rest on a wire rack instead of paper towels to keep them crispy. This simple tip prevents steam from making the crust soggy, ensuring your Japanese Katsu Bowls are delightfully crunchy.
Alternatives for Frying Techniques
If you're looking for healthier options, consider air-frying or oven-baking your cutlet. For air-frying, keep your cutlet coated well and spray with a light layer of oil to maintain that golden color. Baking can be done at 400°F for about 20 minutes—flip halfway for even crisping. These methods can yield delicious results while cutting down on oil usage. Want to explore further? Check out resources like Serious Eats for more innovative frying methods.
Serving Suggestions for Japanese Katsu Bowls
Pairing with Sides and Garnishes
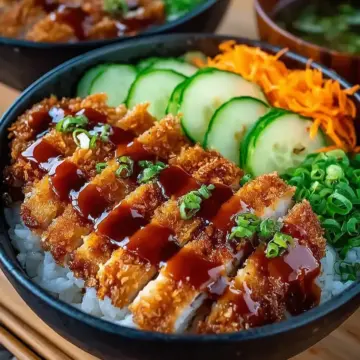
Elevate your Japanese Katsu Bowls by adding fresh and vibrant sides. Shredded cabbage provides a crunchy contrast, while sesame seeds and sliced green onions can enhance the visual appeal and flavor. For an extra kick, consider a side of pickled vegetables—think homemade tsukemono, which adds a delightful tartness to balance the richness of the katsu.
Creative Presentation Techniques
Make your bowl a feast for the eyes! Layer the rice first, then artfully arrange sliced katsu on top. Drizzle your homemade tonkatsu and Japanese mayo sauces in a zigzag pattern for visual impact. A sprinkle of sesame seeds and a few green onion slices on top can give your Katsu Bowl that final touch. Serve with chopsticks for an authentic dining experience; your dinner guests will be impressed!
For more tips on serving and garnishing, check out this guide on Japanese cuisine.
Time Breakdown for Japanese Katsu Bowls
Preparation Time
Getting ready to make Japanese Katsu Bowls is quick and easy! You’ll need about 15 minutes to gather and prepare all your ingredients, including pounding the chicken and setting up your breading station.
Cooking Time
Cooking is where the magic happens! Frying the cutlets will take approximately 10 to 12 minutes. In that time, you can also whip up your tonkatsu sauce and mayo sauce!
Total Time
Rounding everything up, you can have delicious Japanese Katsu Bowls ready in about 30 minutes from start to finish. Perfect for a weeknight meal that impresses without overwhelming your schedule!
For additional tips and tricks on preparing the ultimate katsu, take a look at this guide on perfecting your technique.
Nutritional Facts for Japanese Katsu Bowls
Calories
A serving of Japanese Katsu Bowls typically contains around 700–900 calories, depending on portion size and sauce usage. This hearty dish is perfect for an indulgent yet balanced meal that satisfies your cravings.
Protein
With about 35–45 grams of protein per serving, these bowls pack a protein punch thanks to the crispy chicken katsu. It's an excellent option for those looking to refuel after a workout or a long day.
Sodium
Keep an eye on sodium levels, as a serving can reach 800–1,200 mg. This mainly comes from the tonkatsu sauce and optional toppings. Consider making the sauce at home to control salt content and keep the flavors rich without overdoing it.
For more detailed nutritional breakdowns, sites like the USDA FoodData Central provide extensive information.
FAQs about Japanese Katsu Bowls
Can I use chicken thighs instead of breasts?
Absolutely! Chicken thighs are a fantastic alternative in Japanese Katsu bowls. They tend to be juicier and more flavorful due to their higher fat content. Just ensure you pound them to the same thickness for even cooking. If you're looking for that crispy texture paired with rich flavors, thighs may actually be your go-to option.
What is the best rice for Katsu bowls?
For the ultimate experience, opt for Japanese short-grain rice. This variety becomes wonderfully sticky when cooked, providing a perfect base for your Katsu. It complements the crispy cutlet wonderfully, soaking up those delicious tonkatsu and mayo sauces. Additionally, it gives a sense of authenticity that long-grain rice simply can’t match.
How can I store leftovers?
If you have leftovers, no worries! Simply store the Katsu and rice separately in airtight containers. The Katsu can stay crispier this way, while the rice will stay fresh. Refrigerate them for up to three days. To reheat, pop the Katsu in a hot oven for 5–10 minutes. This will help regain that crispy exterior you love!
Conclusion on Japanese Katsu Bowls
Making Japanese Katsu Bowls at home is an experience you shouldn’t miss. Not only do you enjoy the satisfying crunch of crispy cutlets paired with a rich tonkatsu sauce, but you also get to customize your bowl just the way you like it. Share this delightful dish with friends or savor it solo—you'll find it’s a great way to brighten any weeknight meal. So, why wait? Get cooking today!
Why You Should Make Katsu Bowls at Home Today
Creating Japanese Katsu Bowls at home is not just easy; it’s also incredibly rewarding. Here are a few compelling reasons to whip up a batch tonight:
- Flavor and Freshness: You control the ingredients, ensuring every bite is as delicious as possible.
- Customizable: Mix in your favorite toppings, from shredded cabbage to sesame seeds, making it uniquely yours.
- Comfort Food: There’s something about a warm bowl of crispy katsu over rice that’s just comforting—like a hug in a bowl.
- Quick Dinner Option: With our simple recipe, you can have dinner ready in under an hour. Perfect for busy weeknights!
So roll up your sleeves and dive into the world of Japanese Katsu Bowls. You won’t regret it! For even more delicious recipes and cooking tips, check out Japanese cooking techniques or cooking hacks.
Japanese Katsu Bowls with Tonkatsu Sauce: Crispy & Flavorful Recipe
Equipment
- frying pan
- whisk
- meat mallet
- bowl
Ingredients
Chicken Cutlet
- 2 pieces boneless skinless chicken breasts pounded thin
- Salt and pepper to taste
Breading
- ½ cup all-purpose flour
- 2 pieces eggs beaten
- 1 cup panko breadcrumbs
- Neutral oil for frying (canola or vegetable)
For the Bowl
- 2 cups cooked Japanese short-grain rice
- shredded cabbage optional
- sesame seeds optional
- green onion optional
Tonkatsu Sauce
- 3 tablespoon Ketchup
- 1 tablespoon Worcestershire sauce
- 1 tablespoon Soy sauce
- 1 tablespoon Mirin or sugar
- ½ teaspoon Dijon mustard
Japanese Mayo Sauce
- 3 tablespoon Japanese mayo (Kewpie preferred)
- 1 teaspoon Rice vinegar
- ½ teaspoon Sugar
- 1 teaspoon Chopped pickles or herbs optional
Instructions
Preparation
- Pound chicken or pork until ½ inch thick. Season with salt and pepper.
- Set up a station with flour, eggs, and panko. Dredge in flour, dip in egg, then coat with panko.
- Heat 1 inch of oil to 350°F. Fry cutlets 3–4 mins per side until golden. Drain on rack or paper towel.
- Whisk together all tonkatsu sauce ingredients. Separately, mix mayo, vinegar, and sugar.
- Scoop rice into bowls. Slice katsu and layer over rice. Drizzle both sauces. Top with optional garnishes.
Leave a Reply