
Introduction to Homemade Apple Crisp
When it comes to the perfect dessert for young professionals, apple crisp hits all the right notes. It’s not just delicious; it’s also incredibly simple to whip up after a long day at work. Imagine this: you come home, your kitchen filled with the comforting aroma of cinnamon and baked apples, turning your evening into a cozy retreat. With just a handful of ingredients, you can create a mouthwatering dish that brings back memories of autumn.
The beauty of apple crisp is its versatility. Whether you’re hosting friends for a casual get-together or craving something sweet to enjoy on a weeknight, this dessert fits the bill perfectly. Plus, it’s an excellent way to impress your guests without feeling overwhelmed by complex recipes. According to a study by the National Culinary Institute, quick and easy desserts are among the top choices for young professionals looking to balance convenience and taste.
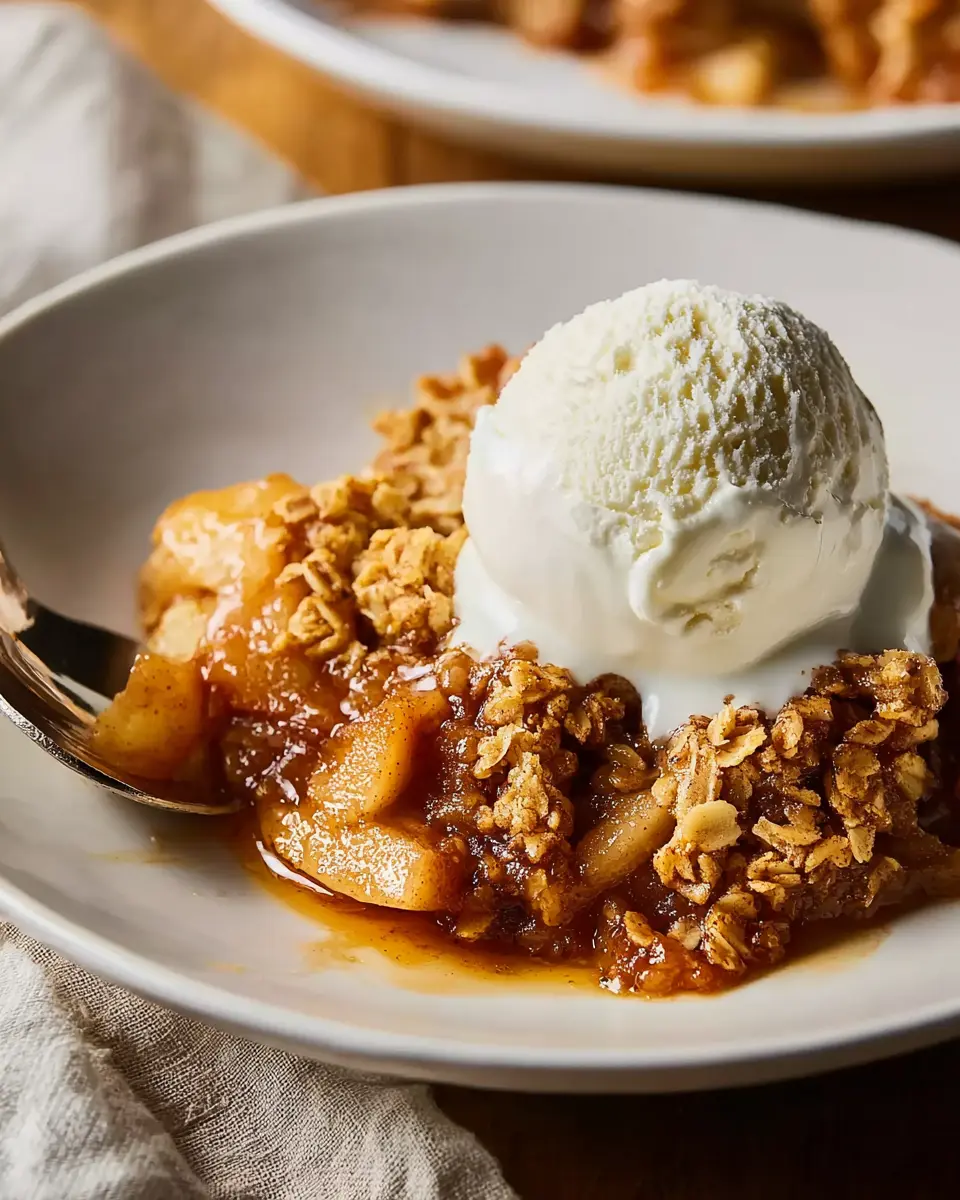
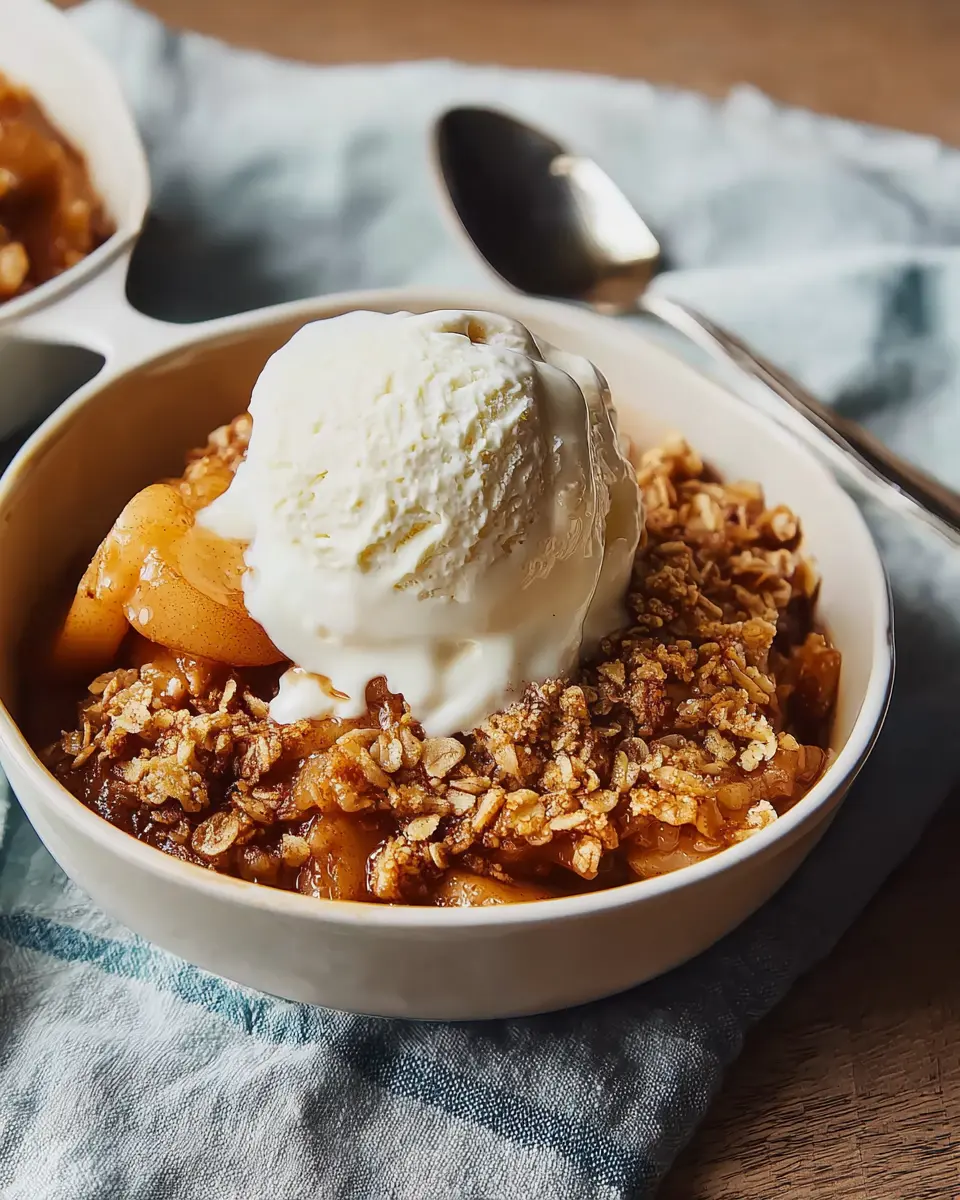
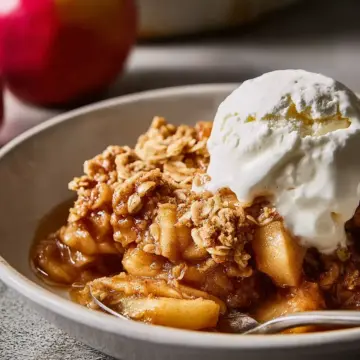
Pair your apple crisp with a scoop of vanilla ice cream, and you’ve transformed a simple dessert into an unforgettable experience. With its combination of warm, tender apples and a crunchy oat topping, apple crisp is bound to become a favored go-to for your culinary repertoire.
Ingredients for Apple Crisp
Essential ingredients for a delicious apple crisp
To create a mouthwatering apple crisp, you’ll need a few essential ingredients that come together beautifully. Start with 10 cups of all-purpose apples, peeled, cored, and sliced—Granny Smith or Honeycrisp work wonders! Sweeten the apple layer with 1 cup of white sugar and a hint of 1 tablespoon of flour to absorb moisture. Add a comforting 1 teaspoon of ground cinnamon for that warm flavor, complemented by 3 tablespoons of water to keep everything juicy.
For the crispy topping, gather 1 cup of quick-cooking oats, 1 cup of all-purpose flour, 1 cup of packed brown sugar, and a touch of leavening with ¼ teaspoon each of baking powder and baking soda. Don’t forget the icing on the cake—½ cup of melted butter to tie it all together!
Optional add-ins for personalization
Want to take your apple crisp to the next level? Consider adding some personal flair with optional ingredients:
- Nuts (like walnuts or pecans) for crunch.
- Dried fruits (such as cranberries or raisins) for extra sweetness.
- Vanilla extract for a subtly aromatic twist.
- Nutmeg alongside cinnamon for a warm spice blend.
These add-ins can transform a classic recipe into your unique signature dish. Explore different combinations and find your perfect balance! For more apple crisp variations, check out the Allrecipes community.
Preparing Apple Crisp
Creating a delicious apple crisp is not only a wonderfully rewarding experience but also a fitting way to celebrate the bountiful flavors of apples. This dessert combines the warm goodness of baked apples with an irresistibly crunchy topping that can turn any gathering into a special occasion. Here’s how to prepare this delightful recipe step by step.
Gather Your Ingredients
Before you dive into cooking, take a moment to gather all your ingredients. For this recipe, you’ll need:
- 10 cups of all-purpose apples, peeled, cored, and sliced
- 1 cup of white sugar
- 1 tablespoon of all-purpose flour
- 1 teaspoon of ground cinnamon
- 3 tablespoons of water
- 1 cup of quick-cooking oats
- 1 cup of all-purpose flour
- 1 cup of packed brown sugar
- ¼ teaspoon of baking powder
- ¼ teaspoon of baking soda
- ½ cup of butter, melted
Make sure to have everything ready—this will streamline the process and make it enjoyable. Don’t forget to preheat your oven to 350 degrees F (175 degrees C) as you prep your ingredients.
Prepare the Apple Filling
Now, let’s create that succulent apple filling. In a 9x13-inch baking dish, place your sliced apples. In a separate bowl, mix together the white sugar, 1 tablespoon of flour, and ground cinnamon. Sprinkle this fragrant mixture evenly over the apples, ensuring that every slice gets a taste of sweetness and spice. To add moisture and help the apples cook down, pour the water evenly over your apple mix.
Make the Crisp Topping
The topping is what truly defines a great apple crisp. In a large bowl, combine the oats, 1 cup of flour, brown sugar, baking powder, and baking soda. Drizzle in the melted butter and mix it with a fork until your mixture is crumbly. This is the stage where you desire that perfect balance—crunchy yet not too crumbly.
Assemble the Layers
It’s time to bring it all together! Carefully spoon the apple filling mixture into the prepared baking dish and then sprinkle the crisp topping generously over the apples. Try to cover all the apples; this will ensure that every bite delivers on flavor and texture.
Bake to Perfection
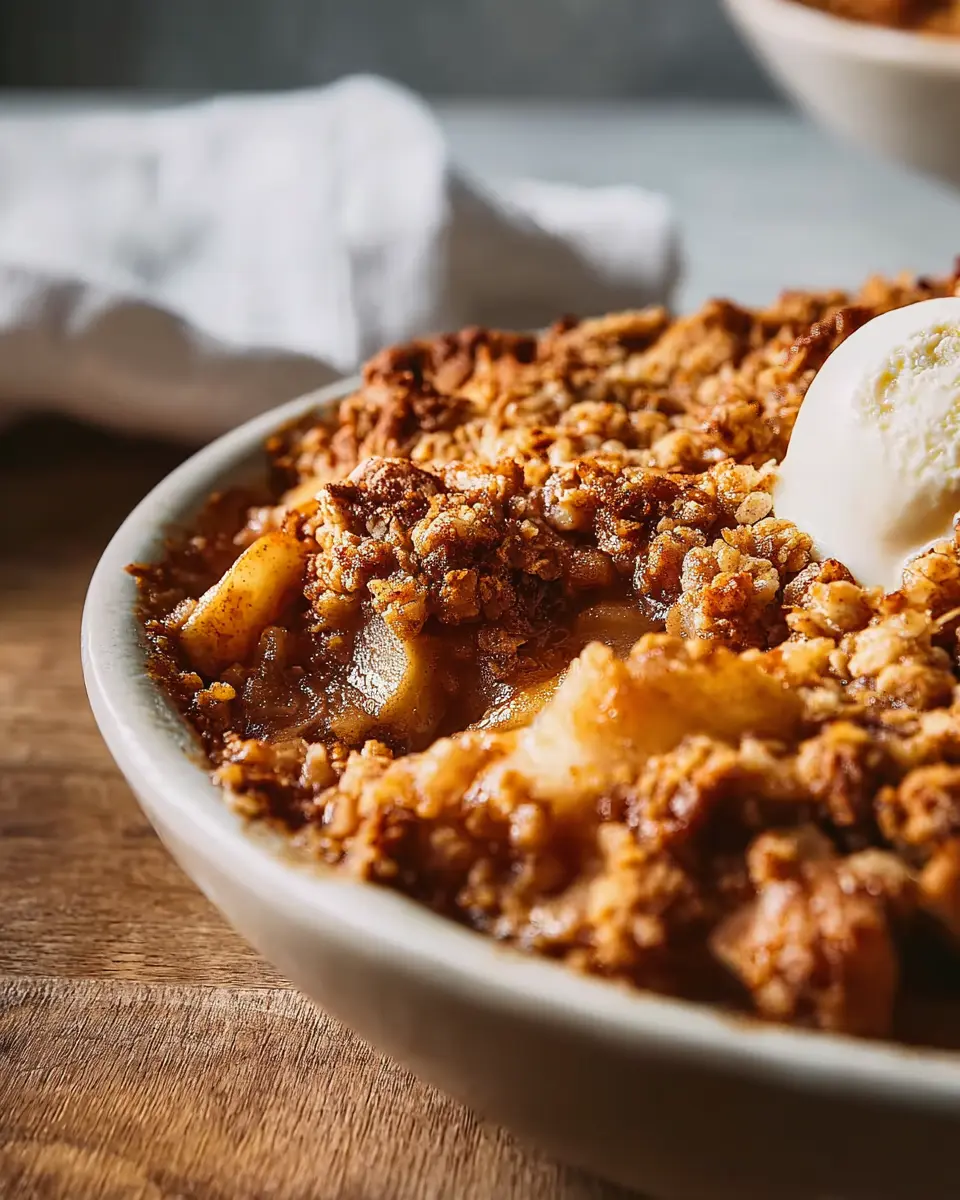
Slide the assembled crisp into the preheated oven and watch the magic happen! Bake for about 45 minutes or until the apple filling is bubbling and the top is a golden brown color. The aroma that wafts through your kitchen during baking is simply divine, signaling a delicious dessert is on the way. Once it’s done, serve it warm, ideally with a scoop of vanilla ice cream for that ultimate apple crisp experience.
Enjoy making this comforting dessert that’s sure to impress your family and friends. Baking something from scratch, like this apple crisp, is not only cathartic but also a wonderful way to create lasting memories. If you’re looking for some variations or tips, check out sources like Food52 for more creative ideas that can elevate this classic recipe!
Variations on Apple Crisp
Classic Apple Crisp with a Twist
Elevate your apple crisp by experimenting with different spices! Try adding nutmeg, ginger, or even a splash of vanilla extract to the apple filling for a unique flavor profile. For an extra crunch, toss in some chopped nuts like walnuts or pecans. If you're feeling indulgent, a drizzle of caramel sauce before baking can take this dessert to the next level!
Seasonal Fruit Substitutes for Apple Crisp
Why limit yourself to apples? You can substitute or mix in other fruits based on the season. In the summer, fresh peaches or blueberries shine, while fall brings wonderful pears and cranberries. Each fruit brings its essence, making your apple crisp a delightful twist on the classic. Check out seasonal fruit guides for even more inspiration!
Cooking Tips and Notes for Apple Crisp
Choosing the Best Apples
When it comes to making a truly delicious apple crisp, selecting the right apples is essential. Look for a mix of tart and sweet varieties for depth of flavor. Some top choices include Granny Smith for tartness, Honeycrisp for sweetness, and Jonagold for a balance of both. The better the apples, the better your crisp will taste!
Tips for a Perfect Crisp Topping
Achieving that perfect topping is all about the right texture. Make sure your butter is melted to create a crumbly, golden finish. Consider adding a pinch of sea salt to enhance the sweetness of the brown sugar and oats. Additionally, for added flavor, a handful of chopped nuts can elevate the crunch factor. Enjoy this warm, ideally with a scoop of vanilla ice cream!
Serving Suggestions for Apple Crisp
Best accompaniments to elevate your apple crisp
To take your apple crisp experience to the next level, consider pairing it with:
- Vanilla Ice Cream: A scoop of creamy vanilla adds richness and balances the warm spices.
- Whipped Cream: Light and fluffy, it’s another classic topping that complements the crisp perfectly.
- Caramel Sauce: Drizzling caramel over the top provides a delightful sweetness that pairs beautifully with the tart apples.
Creative serving ideas
Want to impress your guests? Try these delightful serving ideas:
- Layered Parfait: Alternate layers of apple crisp and yogurt in a glass for a fun twist.
- Breakfast Bowl: Serve warm apple crisp over oatmeal for a cozy breakfast option.
- Oven-Baked Fruit Nachos: Spread apple crisp on tortilla chips and top with whipped cream for an indulgent snack.
Feel free to get creative! Your apple crisp is versatile, so explore different combinations to find your favorite.
Time Breakdown for Apple Crisp
Preparation time
Get your apron on and set aside 30 minutes to prepare the ingredients. This includes washing, peeling, and slicing those delicious apples—you'll be amazed at the wonderful aroma that fills your kitchen!
Cooking time
Once your crisp is in the oven, enjoy a nice break for 45 minutes while it bakes to perfection. It’s the perfect moment to unwind with a book or catch up on your favorite show.
Total time
In just 1 hour and 15 minutes, you’ll have a warm and comforting apple crisp to serve. It's ideal for gatherings or cozy nights in!
For more tips on perfecting your apple desserts, check out our guide on how to choose the best apples for baking and learn what varieties make the sweetest treats. Happy baking!
Nutritional Facts for Apple Crisp
Average calories per serving
Each serving of this delightful apple crisp contains approximately 316 calories. This makes it a manageable dessert choice if you're looking to satisfy your sweet tooth without going overboard.
Key nutrients in apple crisp
Beyond just calories, this apple crisp offers a variety of nutrients:
- Total Fat: 8g
- Saturated Fat: 5g
- Cholesterol: 20mg
- Sodium: 98mg
- Total Carbohydrates: 61g
- Dietary Fiber: 3g
- Total Sugars: 44g
- Protein: 2g
With modest amounts of vitamins and minerals, like Vitamin C and Calcium, this dessert can be enjoyed guilt-free, especially when paired with a scoop of vanilla ice cream. To learn more about the benefits of apples, check out Healthline’s article on apple nutrition. Enjoy your deliciously warm apple crisp, knowing you’re indulging in something quite wholesome!
FAQs about Apple Crisp
Can I make apple crisp ahead of time?
Absolutely! You can prepare the filling and the oat topping separately a day in advance. Just store the apples in the baking dish and keep the topping in an airtight container in the fridge. When you're ready to bake, sprinkle the topping over the apples and pop it in the oven for a delicious dessert that feels fresh without much effort.
What’s the best way to store leftover apple crisp?
To keep your leftover apple crisp tasty, cover it tightly with plastic wrap or transfer it to an airtight container. Store it in the refrigerator for up to five days. If you want to reheat it, simply place it in a preheated oven at 350°F (175°C) for about 15 to 20 minutes until warmed through.
How can I make my apple crisp gluten-free?
Making apple crisp gluten-free is easier than you might think! Simply swap the all-purpose flour for a gluten-free flour blend or almond flour. Many oat brands offer gluten-free options, so ensure your oats are certified gluten-free to keep the entire dessert safe for those avoiding gluten. This way, everyone can enjoy your homemade treat!
For more tips on gluten-free baking, check out resources like Gluten-Free Living.
Conclusion on Apple Crisp
In summary, apple crisp is not just a delightful dessert; it’s a warm embrace after a long day. Perfect for family gatherings or cozy nights in, this recipe is versatile and sure to please any palate. Serve it warm, ideally with vanilla ice cream for that extra touch of comfort.
Apple Crisp
Equipment
- 9x13 inch baking dish
Ingredients
Filling
- 10 cups all-purpose apples, peeled, cored and sliced
- 1 cup white sugar
- 1 tablespoon all-purpose flour
- 1 teaspoon ground cinnamon
- 3 tablespoons water
Topping
- 1 cup quick-cooking oats
- 1 cup all-purpose flour
- 1 cup packed brown sugar
- ¼ teaspoon baking powder
- ¼ teaspoon baking soda
- ½ cup butter, melted
Instructions
Preparation
- Gather all ingredients. Preheat the oven to 350 degrees F (175 degrees C).
- Place sliced apples in a 9x13-inch baking dish. Mix white sugar, 1 tablespoon flour, and cinnamon together; sprinkle over apples. Pour water evenly over apples.
- Combine oats, 1 cup flour, brown sugar, baking powder, and baking soda in a large bowl. Add melted butter and mix with a fork until crumbly; sprinkle evenly over apple mixture.
- Bake in the preheated oven until apple filling is bubbling, and top is golden brown, crisp, and caramelized around the edges, about 45 minutes.
- Enjoy!


Leave a Reply