
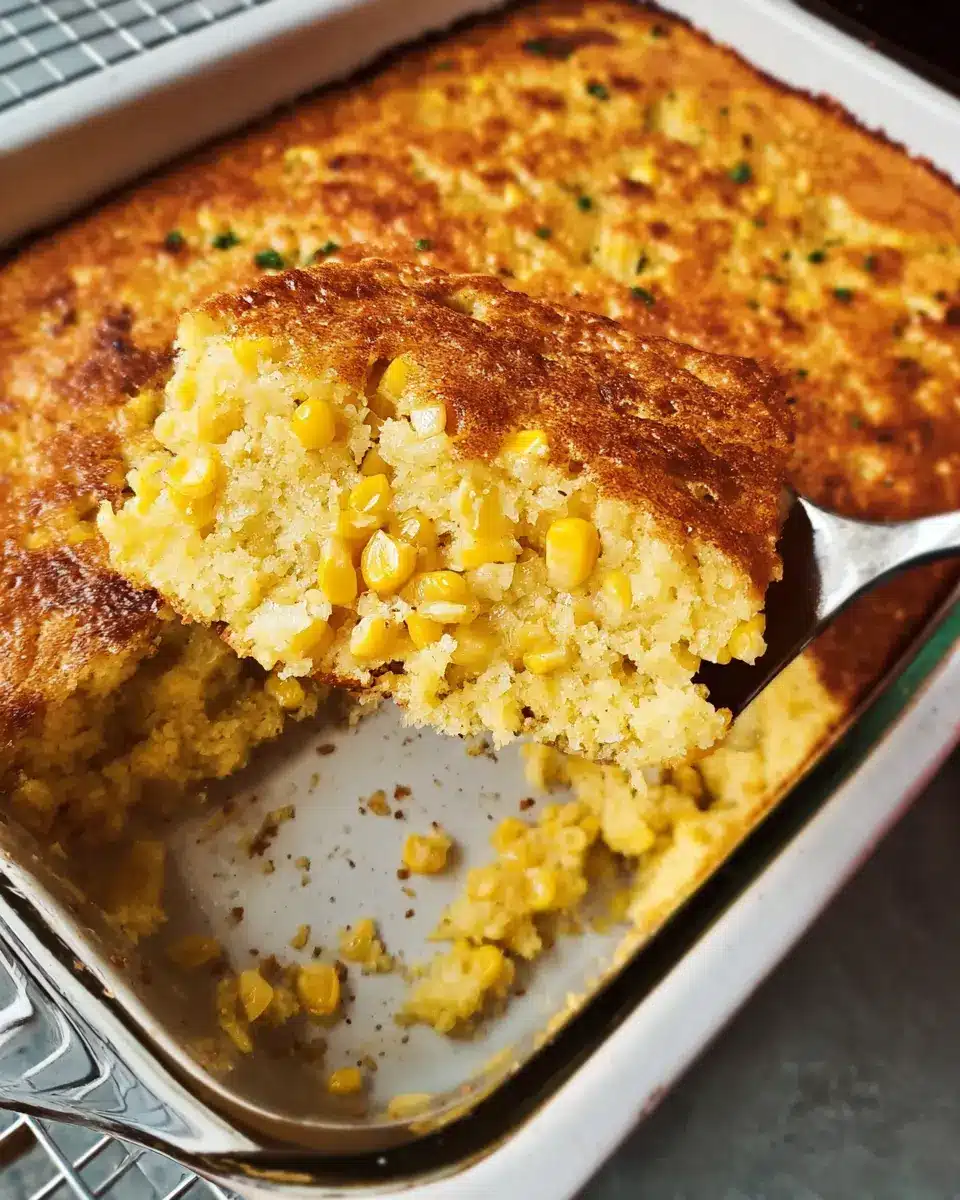
Introduction to Jiffy Corn Casserole
Are you a young professional looking for a dish that's as delightful to make as it is to savor? Look no further than Jiffy Corn Casserole. This mouthwatering recipe is a fantastic time-saver, perfect for busy weeknights or even as a potluck contribution to impress your friends. With just a handful of ingredients and minimal kitchen fuss, you can whip up a comforting dish that packs a flavorful punch.
Why Jiffy Corn Casserole is a must-try for young professionals
The charm of Jiffy Corn Casserole lies in its simplicity. You can have it prepped in just 10 minutes, allowing you to spend your evening unwinding rather than laboring in the kitchen. Moreover, it’s incredibly versatile—ideal as a main dish, a side for your favorite protein like seasoned chicken or even a comforting meal on its own.
Plus, it features wholesome ingredients, from corn and butter to rich sour cream, so it’s not just quick and easy but also satisfying. It’s a dish that invites creativity; feel free to add your favorite ingredients, such as turkey bacon or assorted veggies, to cater to your taste.
This casserole has earned its place in many households, and once you try it, you'll understand why. Ready to dive into the recipe? Let's get started!
Ingredients for Jiffy Corn Casserole
Main ingredients you'll need
To whip up a delicious Jiffy Corn Casserole, you'll need a handful of simple but flavorful ingredients that are likely already in your kitchen. Here’s what you need:
- Cooking spray or butter: For greasing the baking dish
- Unsalted butter: 8 tablespoons (or 1 stick) adds richness
- Corn kernels: 1 can (15 ounces) for that sweet, crunchy texture
- Sour cream: 8 ounces (about 1 cup) for a creamy consistency
- Eggs: 2 large eggs act as a binder
- Creamed corn: 1 can (15 ounces) for extra moisture and flavor
- Jiffy corn muffin mix: 1 box (8.5 ounces) to bring it all together
Optional ingredients for extra flavor
If you want to elevate your Jiffy Corn Casserole, consider adding some optional ingredients for a twist:
- Cheddar cheese: Adding shredded cheese can provide a melty, savory kick.
- Chopped green onions: They introduce a delightful crunch and brightness.
- Turkey bacon or chicken ham: Adding cooked and chopped turkey bacon or chicken ham will add a savory depth, perfect for meat lovers.
Feel free to experiment with these options to personalize your casserole! And for more twists on corn dishes, check out resources like The Kitchn. Happy cooking!
Preparing Jiffy Corn Casserole
Making a delicious Jiffy Corn Casserole is simpler than you might think! This delightful dish combines sweet and savory flavors, making it perfect for gatherings, potlucks, or a cozy dinner at home. Let's dive into the steps to prepare this crowd-pleaser.
Gather and Prepare Your Ingredients
The first step in creating a scrumptious Jiffy Corn Casserole is to gather your ingredients. Here’s what you’ll need:
- Cooking spray or butter to grease your baking dish
- 1 stick (8 tablespoons) unsalted butter
- 1 (15-ounce) can of corn kernels (drained)
- 1 cup (8 ounces) sour cream
- 2 large eggs
- 1 (15-ounce) can of creamed corn
- 1 (8.5-ounce) box of regular or vegetarian Jiffy corn muffin mix
Be sure to have all your ingredients measured out and ready to go. It’s always fun to set the stage as if you’re a chef on a cooking show!
Mix the Wet Ingredients
Start by melting the butter. You can do this in a microwave-safe bowl or on the stovetop. If you’re melting it in the microwave, do it in short bursts to avoid overheating. Once melted, let it cool slightly until it’s warm to the touch.
Next, you'll whisk the wet ingredients together. Add the sour cream and eggs to the bowl with the melted butter, and mix well until combined. This step is crucial as the creamy mixture gives the casserole its rich texture. According to Healthline, sour cream can enhance flavor and add beneficial probiotics, making it a tasty choice.
Combine Dry Ingredients
Now it’s time to bring in the dry ingredients. In this step, you’ll introduce the Jiffy corn muffin mix. It brings a wonderful sweetness and fluffy texture to the casserole. Add this mix to your wet ingredients and stir just until everything is combined, being careful not to overmix.
Pour and Mix in the Main Ingredients
After mixing, fold in the drained corn kernels and creamed corn. This is where the magic happens! These ingredients add sweetness and a hearty feel to your dish. Pour this mixture into a greased 8x8-inch baking dish, spreading it out evenly.
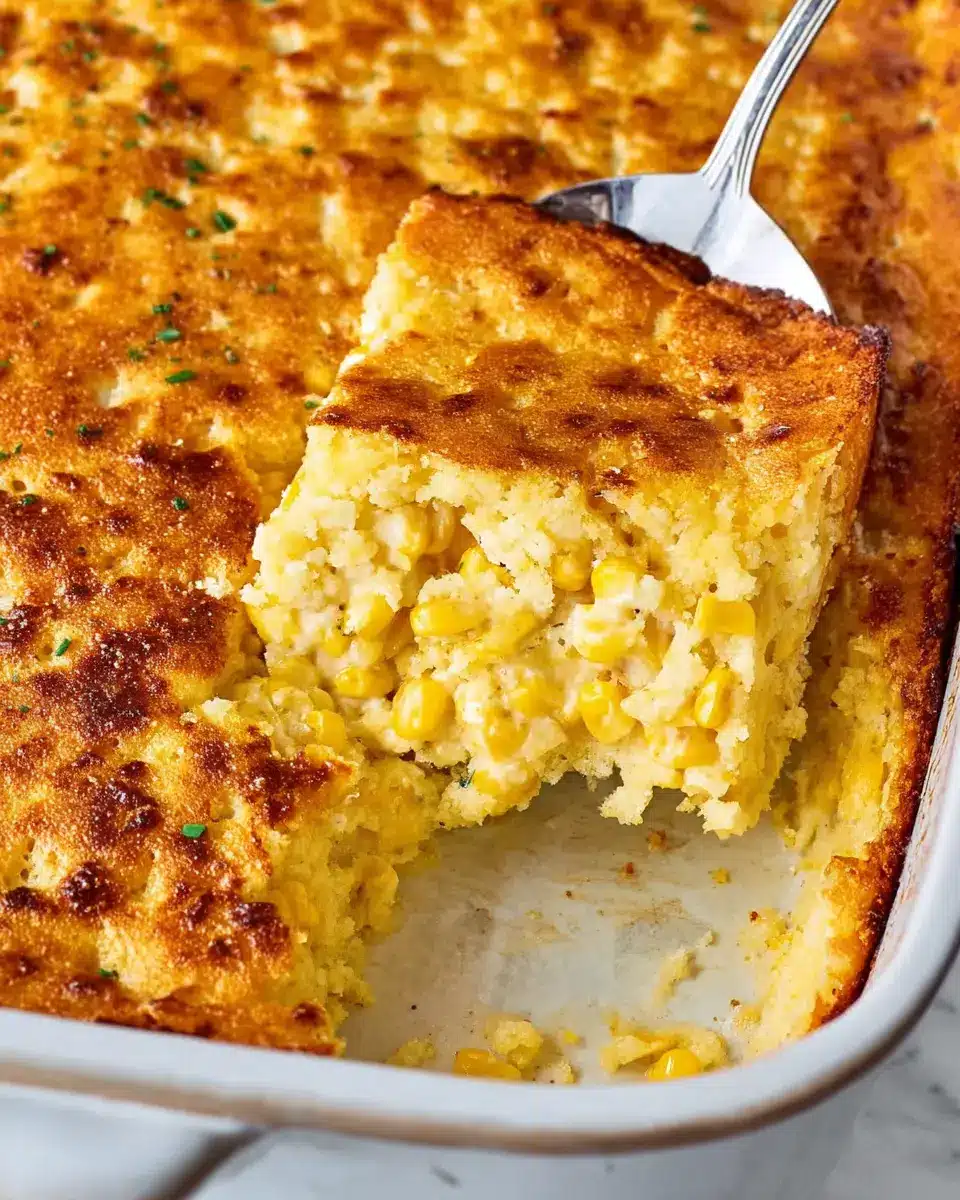
Bake to Perfection
Now, for the final step — baking! Preheat your oven to 350°F (175°C) and pop your casserole in for 45 to 50 minutes. You’ll know it’s done when the top is puffed and lightly golden, and the center feels firm to the touch. Let it cool for about 10 minutes before digging in. This cooling period also enhances the flavors, allowing them to meld perfectly.
And there you have it! Your delicious Jiffy Corn Casserole is ready to serve. Consider pairing it with some easy-to-make sides, and you have a complete meal! Enjoy this beautiful blend of flavors, perfect for sharing with friends and family.
Variations on Jiffy Corn Casserole
Sweet Jiffy Corn Casserole
If you’re in the mood for something sweeter, try adding a splash of vanilla extract and a handful of chocolate chips to your Jiffy Corn Casserole. This blend creates a delightful dessert-like treat that’s perfect for potlucks or family gatherings. You could even throw in some crushed pineapple for a tropical twist!
Savory Jiffy Corn Casserole with Cheese
For a savory take, consider mixing in shredded cheese—cheddar, Monterey Jack, or pepper jack all work beautifully. This adds a creamy, melty layer of goodness that complements the sweetness of the corn. For an extra kick, you might toss in some diced jalapeños or sprinkle on some herbs like thyme or rosemary. These variations are simple to make and will elevate your Jiffy Corn Casserole to new heights!
Looking for more inspiration? Check out this guide for even more creative takes on corn casseroles!
Cooking notes for Jiffy Corn Casserole
Common pitfalls to avoid
One common mistake is overmixing the batter—it may make your Jiffy Corn Casserole dense. Keep those mixed ingredients just combined! Another pitfall? Not preheating the oven properly. It’s essential for achieving that perfect rise and golden crust. Also, don’t skip letting it cool for about 10 minutes before serving. This waiting period allows the casserole to firm up a bit for perfect servings.
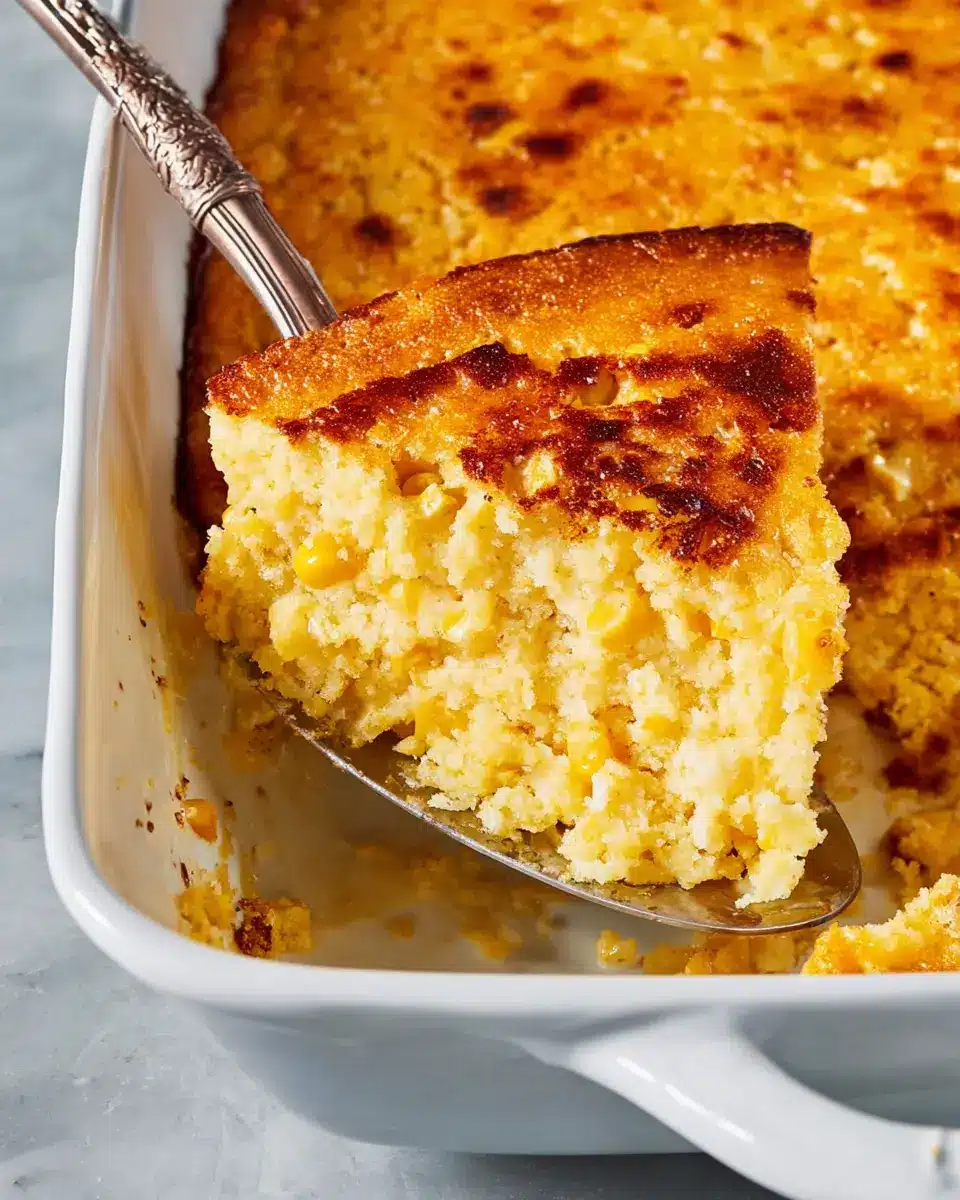
Tips for perfect texture
For a wonderfully fluffy texture, consider using a mix of creamed and whole kernels. This combination adds creaminess while keeping those satisfying bites. If you love a bit of sweetness, try adding a tablespoon of honey or a sprinkle of sugar to enhance the flavors. Lastly, serve it with a dollop of sour cream on the side for that extra creaminess—heavenly! Want to jazz it up? Check out TheKitchn for more creative variations!
Serving suggestions for Jiffy Corn Casserole
Pairings and Accompaniments
The Jiffy Corn Casserole is a delightful dish that pairs wonderfully with a variety of sides. Consider serving it alongside:
- Grilled Chicken: The tender, juicy flavor complements the sweetness of the casserole.
- Turkey Bacon: Crispy slices add a savory crunch that balances the dish's creamy texture.
- Fresh Salad: A light green salad with a zesty vinaigrette can brighten the meal and provide some freshness.
For a classic twist, try adding Chicken Ham for a savory kick!
Creative Serving Ideas
Take your presentation up a notch by creating individual portions! Use ramekins to serve mini servings of Jiffy Corn Casserole, which not only looks impressive but also makes for easy serving at gatherings.
Another fun idea? Top it with a dollop of sour cream or a sprinkle of fresh herbs before serving. This not only enhances the flavor but also adds a pop of color.
For more serving inspiration, check out this resource on serving casseroles. Each of these suggestions will surely impress your guests and elevate your next meal!
Time Details for Jiffy Corn Casserole
Preparation Time
Getting started on your Jiffy Corn Casserole is quick and easy! You’ll need about 5 to 10 minutes to gather your ingredients, melt the butter, and combine everything in a bowl.
Cooking Time
Once your casserole is assembled and in the oven, it will take about 45 to 50 minutes to cook to perfection. During this time, your kitchen will be filled with the most delicious aromas!
Total Time
From start to finish, you’re looking at around 50 to 60 minutes until you can dive into this tasty dish. It’s a perfect side for any gathering, and you won’t believe how simple it is to whip up!
For more helpful cooking tips and ideas, check out these cooking blogs that explore easy recipes. Cooking can be both effortless and enjoyable—especially with dishes like the Jiffy Corn Casserole!
Nutritional information for Jiffy Corn Casserole
Understanding the nutritional value of your meals can help you make informed choices. Here’s a quick overview of the key nutritional information for your delicious Jiffy Corn Casserole:
Calories
A serving of Jiffy Corn Casserole typically contains approximately 250-300 calories. This makes it a satisfying side dish without being overly indulgent!
Protein
With the combination of ingredients, you'll get around 6-8 grams of protein per serving, thanks to the eggs and dairy in the recipe.
Sodium
Each serving has about 400-500 mg of sodium. For those watching their salt intake, consider using low-sodium versions of some ingredients for a healthier twist.
For more insights on how to enhance the nutritional profile of your meals, check out the CDC’s Dietary Guidelines for expert recommendations!
FAQs about Jiffy Corn Casserole
Can I use frozen corn instead of canned?
Absolutely! Using frozen corn in your Jiffy Corn Casserole is a great option. It can add a fresh flavor and maintain the sweetness of the dish. Just make sure to thaw and drain the corn before mixing it in. Frozen corn usually works perfectly, providing that same delightful texture as canned corn.
Is Jiffy Corn Casserole gluten-free?
The standard Jiffy Corn Casserole recipe utilizes Jiffy corn muffin mix, which contains wheat flour and is not gluten-free. However, you can find gluten-free corn muffin mixes at most grocery stores. Simply substitute the regular mix with a gluten-free alternative, and you’ll have a delicious casserole that everyone can enjoy!
How long does Jiffy Corn Casserole last in the fridge?
Once cooked, your Jiffy Corn Casserole can last in the refrigerator for about 3 to 5 days when stored in an airtight container. It's perfect for leftovers! Just reheat in the oven or microwave before serving again. Enjoy those easy meals!
For more culinary tips, check out resources on cooking storage techniques and gluten-free ingredients.
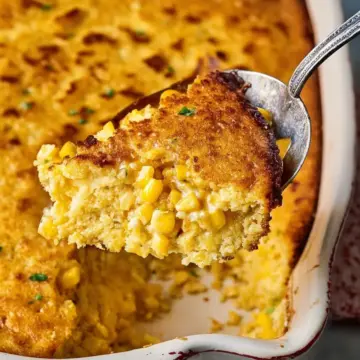
Conclusion on Jiffy Corn Casserole
Jiffy Corn Casserole is a delightful, easy-to-make dish that brings a comforting touch to any meal. Whether you're serving it at a holiday gathering or a casual weeknight dinner, its warm flavors and creamy texture are sure to please. Don’t hesitate to get creative with add-ins like turkey bacon or chicken ham to make it your own! For more tips on enhancing your casserole experience, check out this source on family-friendly recipes.
Jiffy Corn Casserole
Equipment
- oven
- baking dish
- microwave
- Mixing bowl
Ingredients
Casserole Ingredients
- 1 can (15-ounce) corn kernels drained
- 1 can (15-ounce) creamed corn
- 8 tablespoons unsalted butter melted
- 8 ounces sour cream
- 2 large eggs
- 1 box (8.5-ounce) Jiffy corn muffin mix
- cooking spray or butter for greasing the baking dish
Instructions
Cooking Instructions
- Preheat the oven to 350°F and coat an 8x8-inch baking dish with cooking spray.
- Melt the unsalted butter in the microwave and then let it cool until warm.
- In the mixing bowl, whisk together the melted butter, sour cream, and eggs.
- Add in the corn kernels and creamed corn, then stir in the Jiffy mix until well combined.
- Pour the mixture into the baking dish and smooth the top.
- Bake for 45 to 50 minutes until puffed, slightly browned, and center is firm.
- Let cool for 10 minutes before serving.


Leave a Reply