
Introduction to Cherry Pie Bars
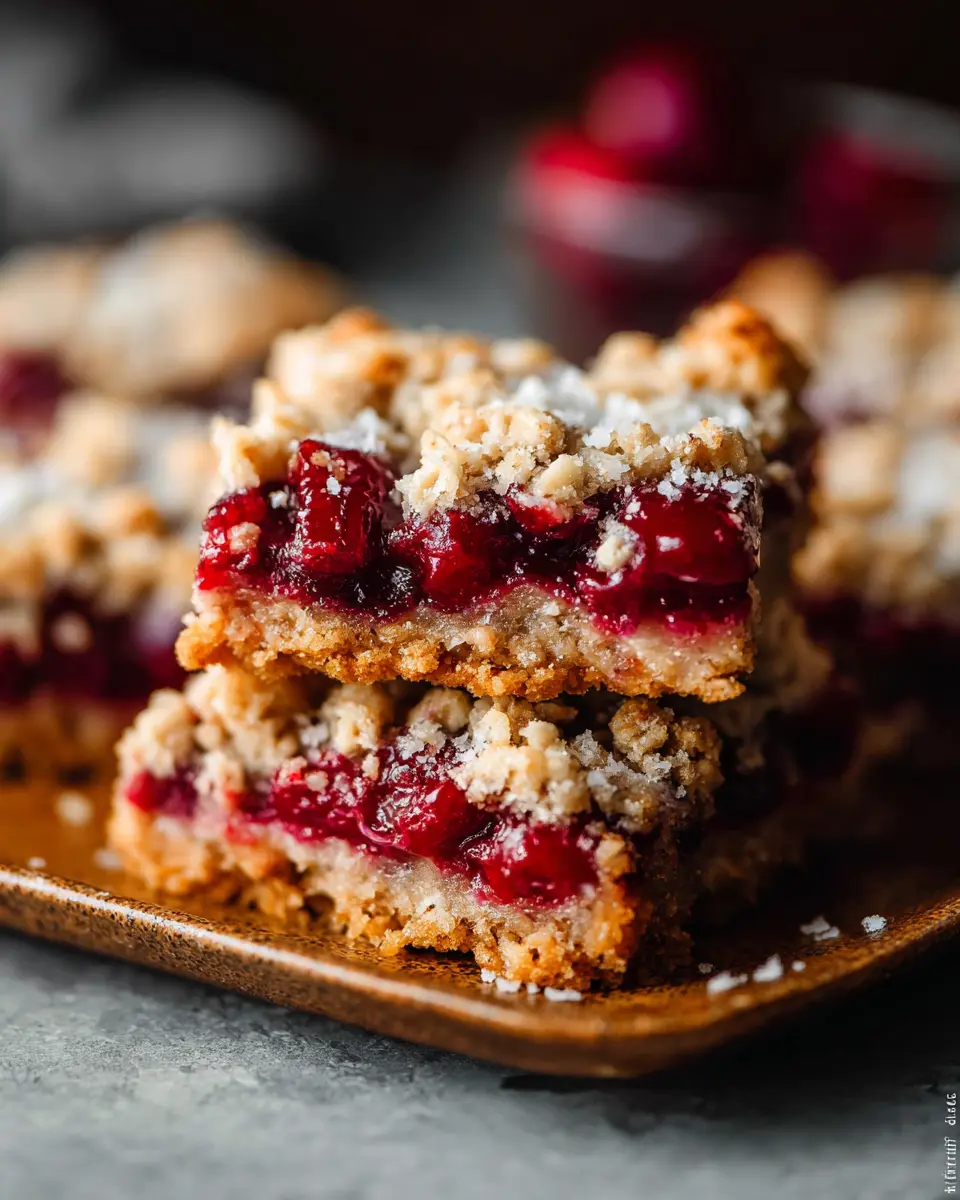
If you're on the lookout for a dessert that beautifully combines simplicity with delicious flavor, Cherry Pie Bars are the perfect choice! These delightful treats are a twist on the classic cherry pie, offering all the same mouthwatering taste but in a convenient, grab-and-go format. Whether for a picnic, a weekday snack, or a sweet ending to a meal, these bars are sure to impress.
Why Cherry Pie Bars are the Perfect Treat?
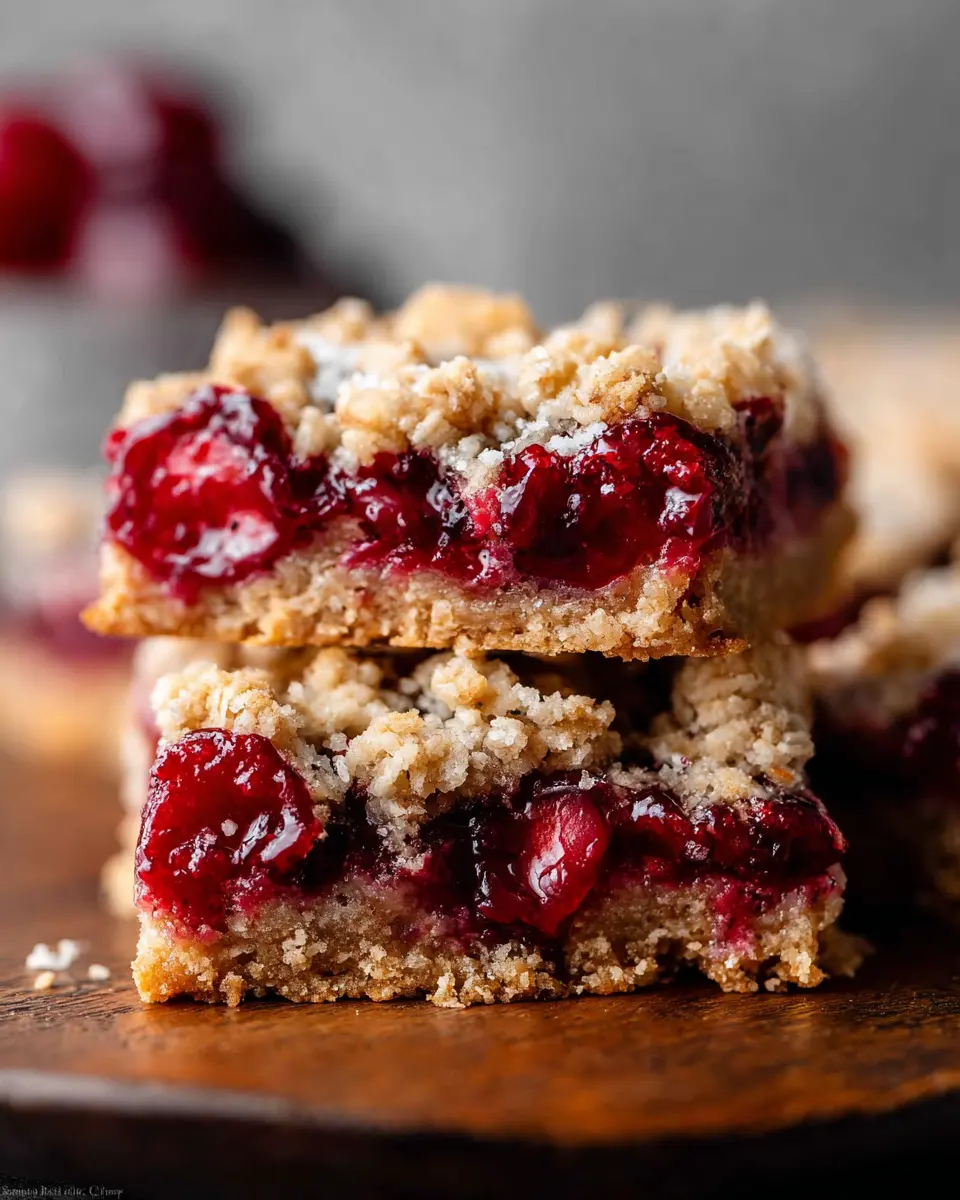
One of the best things about Cherry Pie Bars is how they balance rich flavors with comforting textures. The sweet-tartness of cherries pairs perfectly with the crunchy oatmeal crumble topping, creating a delightful symphony of taste in every bite. Plus, they are incredibly easy to make, requiring minimal prep time and just a few simple ingredients.
For those seeking a gluten-free dessert, our recipe offers an option with gluten-free oat flour, ensuring everyone can enjoy these scrumptious bars. Not to mention, the whimsical colors of the cherries make these bars not just tasty but visually appealing, perfect for impressing guests. Need some inspiration? Check out more on health benefits of cherries from the Cherry Marketing Institute.
So gather your friends and family, and get ready to whip up a batch of these Cherry Pie Bars!
Ingredients for Cherry Pie Bars
When it comes to creating delicious Cherry Pie Bars with oatmeal crumble, having the right ingredients is crucial. Let’s break down what you need!
Crust and Crumble Ingredients
To craft that beautifully crumbly texture, gather the following:
- 1 ½ cups gluten-free oat flour (or use all-purpose flour)
- 1 cup old-fashioned rolled oats (gluten-free if desired)
- ½ cup brown sugar
- ½ teaspoon ground cinnamon
- ¼ teaspoon salt
- ½ cup melted butter or a vegan buttery stick for a plant-based option
- 2 teaspoons vanilla extract
- ¼ teaspoon almond extract
These ingredients work harmoniously to form a tasty base and topping that pairs perfectly with the cherry filling.
Filling Ingredients
Now, for the luscious cherry filling, you’ll need:
- 3 heaping cups frozen tart cherries
- 3 tablespoons pure maple syrup (for natural sweetness)
- 1 tablespoon cornstarch or arrowroot starch (plus 1-2 teaspoons more if necessary)
- ¼ teaspoon almond extract
- Pinch of kosher salt
With these simple yet flavorful ingredients, your Cherry Pie Bars will be a hit at any gathering! For additional tips, consider visiting Cherry Nutrition for insights on the health benefits of cherries.
Preparing Cherry Pie Bars
Getting cozy in the kitchen while making Cherry Pie Bars with Oatmeal Crumble is one of the best ways to spend a weekend afternoon. The sweetness of tart cherries combined with the nutty crunch of oatmeal creates a delicious dessert that everyone will love. So, grab your apron, and let’s dive into the prep work!
Preheat the Oven and Prepare the Pan
The first step to baking these mouthwatering Cherry Pie Bars is to preheat your oven to 350 degrees F. While the oven is warming up, take an 8x8 inch pan and line it with parchment paper. This is an essential step because it helps you easily lift the bars out once they're baked. After lining, generously spray the parchment with nonstick cooking spray. This will ensure your bars don’t stick, making the serving process a breeze!
Make the Base and Topping Mixture
In a large bowl, you’ll want to mix together the dry ingredients for the base and topping. Combine 1½ cups of gluten-free oat flour, 1 cup of old-fashioned rolled oats, ½ cup of brown sugar, ½ teaspoon of ground cinnamon, and a pinch of salt. Stir these ingredients using a fork to prevent clumping. Then, add in ½ cup of melted butter, 2 teaspoons of vanilla extract, and a dash of almond extract. Mix until everything comes together into a crumbly texture.
From this mixture, set aside 1½ cups for the base and place the rest in the refrigerator; it will be used later as a crunchy topping. Next, press the base mixture evenly into the prepared pan using your hands for a firm layer.
Create the Cherry Pie Filling
To prepare the filling, place a medium pot over medium heat and add 3 heaping cups of frozen tart cherries, 3 tablespoons of pure maple syrup, 1 tablespoon of cornstarch, and a pinch of kosher salt. This mixture will transform into a luscious filling that complements the crust perfectly. Use a wooden spoon to gently break down some of the cherries, stirring until the mixture comes to a boil. Cook for about five more minutes until you achieve a thick consistency that coats the back of a spoon without being too runny. If it’s runnier than desired, simply stir in an additional teaspoon or two of cornstarch.
Assemble the Bars
Once your cherry filling is ready, pour it over the cooled crust, spreading it evenly across the surface. Now, it’s time for the fun part! Take the reserved crumble topping from the fridge and sprinkle it generously over the cherry layer. This adds that delightful crunch everyone loves about Cherry Pie Bars.
Bake and Cool the Bars
Bake the assembled bars for about 30 minutes, or until the filling is bubbly and the topping turns a beautiful golden brown. Once they’re out of the oven, let the bars cool completely on a wire rack. This cooling process is crucial; it allows the bars to set, making cutting them into delicious squares much easier.
For the best experience, refrigerate them for a bit before serving. The combination of that sweet cherry filling and crunchy topping will have your friends and family coming back for seconds!
So, roll up those sleeves and enjoy the rewards of your hard work when you finally dig into these Cherry Pie Bars!
Variations on Cherry Pie Bars
Gluten-Free Cherry Pie Bars
If you’re looking for a gluten-free option, substituting all-purpose flour with gluten-free oat flour works wonders in these Cherry Pie Bars. Also, using certified gluten-free oats ensures you can enjoy these delightful treats without worry. Just keep your baking surface and utensils free from gluten contamination to maintain integrity.
Different Fruit Filling Options
While tart cherries steal the show in this recipe, don’t hesitate to get creative! Consider using frozen blueberries, raspberries, or even a mix of seasonal fruits like peaches and blackberries for a delightful twist. Each fruit brings its own flavor profile, transforming these Cherry Pie Bars into a versatile dessert. Experimenting not only expands your palate but also elevates your baking game!
For more insights on gluten-free options, check out resources like Gluten-Free Living. To dive deeper into fruit variations, don’t miss The Fruit Stand for seasonal tips!
Cooking Tips and Notes for Cherry Pie Bars
Storage Tips
To keep your Cherry Pie Bars fresh, store them in an airtight container at room temperature for the first day. Afterward, pop them in the fridge, where they’ll stay delicious for up to a week. Enjoy them chilled or at room temperature; they’re versatile!
Substitutions and Customizations
Feel free to swap out the oat flour for regular all-purpose flour for a different texture. Want to mix things up? Try adding chopped nuts like walnuts or almonds for extra crunch, or toss in some fresh blueberries along with the cherries for a fruity twist. For a sweeter filling, increase the maple syrup slightly—it's all about adjusting to your taste!
For more tips on ingredient substitutions, check out this helpful guide from EatingWell.
Serving Suggestions for Cherry Pie Bars
Best Accompaniments
To elevate your Cherry Pie Bars, consider pairing them with a scoop of creamy vanilla ice cream or a dollop of freshly whipped cream. For a delightful twist, try serving them alongside a tart yogurt, which contrasts beautifully with the sweetness of the cherry filling. If you’re looking for a warm drink, a cup of herbal tea or rich, spiced coffee will complement your dessert perfectly.
Presentation Ideas
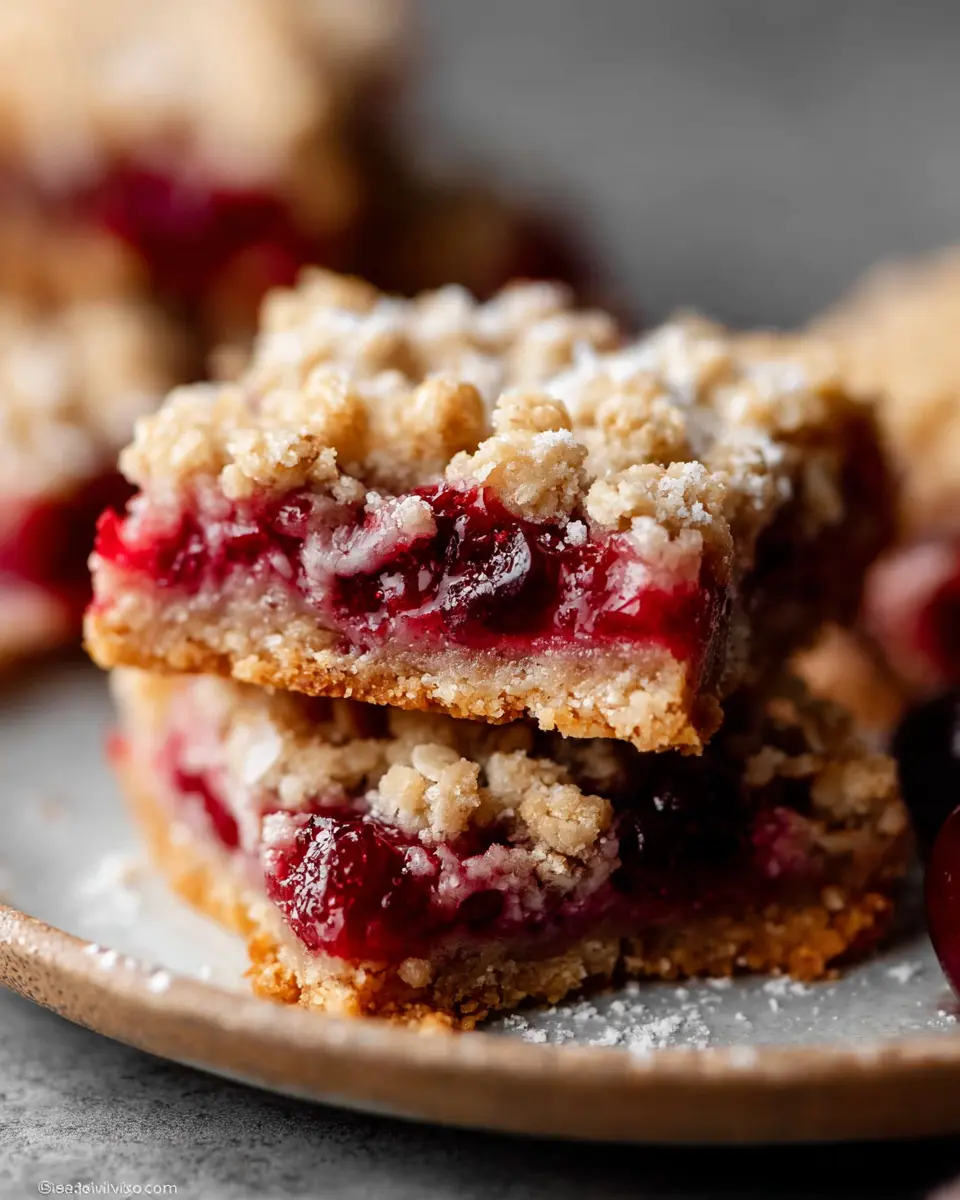
Make your Cherry Pie Bars visually appealing by slicing them into neat squares and dusting with powdered sugar before serving. Decorate the plate with fresh cherries or mint leaves for a pop of color. Alternatively, present them in rows on a decorative platter, and let your guests help themselves for a charming, buffet-style treat. For added flair, garnish them with chocolate shavings or a drizzle of caramel sauce to entice the taste buds!
Time Breakdown for Cherry Pie Bars
Preparation Time
Getting your Cherry Pie Bars ready takes approximately 15 minutes. This includes gathering your ingredients, mixing up the crust and filling, and prepping your baking pan.
Baking Time
You'll want to bake these beauties for about 30 minutes. This ensures that the top is golden brown and the cherry filling is bubbly.
Total Time
In total, you’re looking at around 45 minutes from start to finish before you can dive into a delicious slice of your homemade cherry pie bars. Perfect for a quick dessert fix or a nostalgic treat!
Nutritional Facts for Cherry Pie Bars
When indulging in our Cherry Pie Bars, it's always good to know what you're treating yourself to. Each bar contains approximately:
- Calories: 167
- Protein: 2.4g
- Fiber: 1.9g
These bars offer a delightful balance of flavors while also providing some nutritional benefits. Enjoying them as a part of your balanced diet can certainly add a sweet touch to your day! For more detailed nutritional information, check resources like Nutrition Data or MyFitnessPal.
FAQs about Cherry Pie Bars
Can I use fresh cherries instead of frozen?
Absolutely! You can use fresh cherries for your Cherry Pie Bars, which will yield a delicious and vibrant filling. Just be sure to pit and slice them before cooking. If using fresh cherries, you might want to add a bit more cornstarch to ensure your filling has the right thickness.
What should I do if my filling is too runny?
If you find that your filling is a bit too runny, don't worry! Just stir in an extra 1-2 teaspoons of cornstarch (or arrowroot starch) and simmer the mixture on low heat for a few more minutes. This will help it thicken up beautifully; remember that a good filling should nicely coat your spoon!
How do I store leftover bars?
To keep your Cherry Pie Bars fresh, store any leftovers in an airtight container. They can be kept at room temperature for a day or two, but for longer freshness, pop them in the fridge. That way, you can enjoy them chilled or at room temperature whenever you crave a sweet treat!
Conclusion on Cherry Pie Bars
Cherry Pie Bars are the perfect blend of sweet and tart, offering a delicious treat that’s easy to prepare. These bars are not only crowd-pleasers but also customizable to cater to various dietary preferences. Whether served warm or chilled, they’re sure to bring joy to any gathering. Enjoy!
For more delicious dessert ideas, check out this fantastic resource.
Cherry Pie Bars with Oatmeal Crumble
Equipment
- 8x8-inch baking pan
- medium pot
- fork
- Wooden spoon
Ingredients
For the crust and crumble
- 1.5 cups gluten-free oat flour or sub all-purpose
- 1 cup old-fashioned rolled oats gluten free if desired
- 0.5 cups brown sugar
- 0.5 teaspoon ground cinnamon
- 0.25 teaspoon salt
- 0.5 cups butter or vegan buttery stick melted
- 2 teaspoons vanilla extract
- 0.25 teaspoon almond extract
For the filling
- 3 heaping cups frozen tart cherries
- 3 tablespoons pure maple syrup
- 1 tablespoon cornstarch or arrowroot starch plus 1-2 teaspoons more if necessary
- 0.25 teaspoon almond extract
- 1 pinch kosher salt
Instructions
Instructions
- Preheat oven to 350 degrees F. Line an 8x8 inch pan with parchment paper and generously spray with nonstick cooking spray. Set aside.
- In a large bowl, use a fork to mix together the oat flour, oats, brown sugar, cinnamon, and salt.
- Add in melted butter, vanilla extract and almond extract and stir until a nice crumble forms and dough begins to clump together. Place 1 ½ cups of the mixture into the prepared pan and place the remaining mixture into the fridge.
- Use your hands to evenly press the dough to the bottom of the pan.
- Place a medium pot over medium heat. Add in tart cherries, maple syrup, almond extract, cornstarch (or arrowroot) and salt. Use a wooden spoon to press down and break down the cherries just a bit.
- Bring to a boil, then reduce heat and cook for 5 more minutes until mixture is thickened up and nicely coats the back of a spoon without being too drippy. If it’s too drippy stir in 1-2 teaspoons more cornstarch or arrowroot.
- Pour mixture over the crust and use a spoon to evenly spread.
- Take the remaining topping out of the fridge. Sprinkle the topping over the tart cherry filling.
- Bake for 30 minutes or until filling is bubbly and topping is golden.
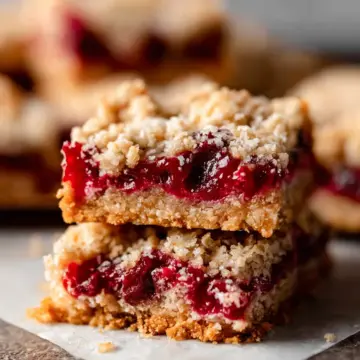
- Allow bars to cool completely on a wire rack before transferring to the fridge to chill. Use a sharp knife to cut into 16 bars before serving.
Leave a Reply